


Please Note: This article is part of our historical archive. Because it was published a while ago, some of the information, links, or context may now be outdated.
Looking for the steps to clone the DNN website? We can help you.
Cloning of a website means creating an exact copy of the database and site files over to a new domain.
At Bobcares, we often receive requests to clone the DNN website as part of our Server Management Services.
Today, let’s discuss how our Support Engineers do it easily for our customers.
Why clone a DNN website?
DNN is a web content management that is built on.NET framework.
DNN provides the capability for multiple users with different permission levels to manage a website or a section of the content.
Website owners mainly use this DNN application due to the portal based architecture. This allows running many sites on just one DNN installation.
Users clone their DNN websites when they wish to make a copy of their live website. Thus, they can add modules and test their working without affecting the live website.
How to clone DNN from one domain to another?
Many of our customers approach us to clone the DNN website from one domain to another. Let’s see how our Support Engineers do it for our customers. Here we clone the website from abc .com to xyz.com.
1. Initially, we RDP to the server and backup both sites.
2. Then we delete the website files (if any) from httpdocs(website) folder and database from the xyz.com
3. Then copy the website files from abc.com to xyz.com.
4. Create a new database for xyz.com.
- We login to Plesk.
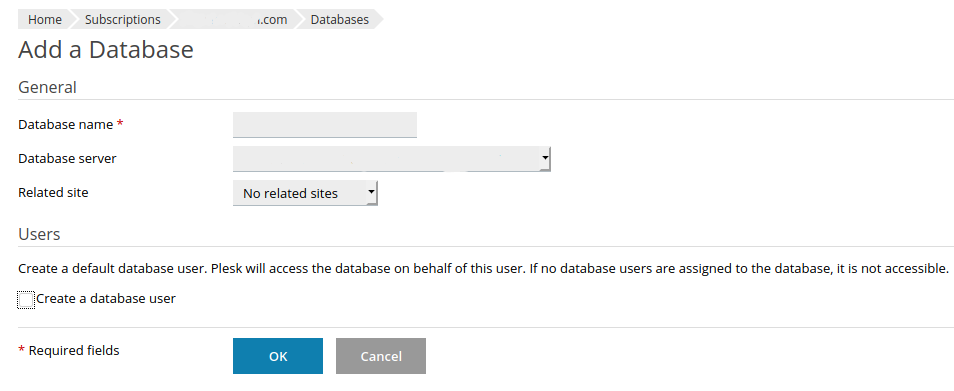
- Then select Databases and click Add Database option.
Also, we do not create the user at this point. We just create the database without any user from Plesk. So do not tick the Create a database user option.
5. Then we restore the database backup of abc.com on the new database.
- We go to SQL Server Management Studio.
- Then right on the database and go to Tasks > Restore > Database.
- In General settings under Source, we select Device and add the select the backup file.
- Then in the destination section, we make sure that the correct database is selected to restore.
- In the File section, we make sure that the .mdf and .ldf files of the new database are selected.
- Under Option, we tick Overwrite the existing database.
- Finally, click ok.
6. Add a new database user from Plesk to the database created for xyz.com.
7. Then assign db_owner privilege only for the user, and also assign the schemas of old users in the database to this new user. Also, change the recovery model of the database from full to simple.
For that right-click on the database. Then select properties > options >recovery model and select Simple.
8. Delete the old database user without removing the schemas. If the user is owning any other database principals, then find them out and change the owner to the new database user created earlier.
9. Then edit the web.config file of the site xyz.com and update the new database and user details.
10. Also, check the Portal Alias table of the database and edit it as site xyz.com.
[Need more assistance to clone your DNN website? We’ll help you.]
Conclusion
One of the best ways to make a local copy is to clone DNN website. In today’s writeup, we discussed how our Support Engineers clone a DNN website from one domain to another domain.
