


Please Note: This article is part of our historical archive. Because it was published a while ago, some of the information, links, or context may now be outdated.
One of the basic motive behind cloud hosting is cost cutting. With a control panel for managing the cloud server, the merits become twofold.
That’s where ClusterCS as a cPanel alternative make relevance.
However, there is no single click method for migration from cPanel to ClusterCS. At Bobcares, we frequently handle many migration tasks as part of our Migration Services.
In this write up, we’ll see how our Migration Engineers migrate accounts from cPanel to ClusterCS without making websites down.
Overview of ClusterCS
It’s time now to see why many users choose ClusterCS panel for their virtual servers.
ClusterCS is a cloud based control panel that can easily take care of the website management. It comes with easy set up of Apache servers, PHP and databases. Moreover, tweaking the server for optimum performance is no longer a mess with ClusterCS. It make use of a feature called HAProxy to optimize content serving and caching. As a result, ClusterCS Website Speed Booster feature create wonders on your domains.
Again, for users who need one-click solutions for common tech stacks, ClusterCS provide a feature called “Recipes”. These Recipes can easily install a complete LAMP or set up firewall like iptables and Fail2Ban. Moreover, Postfix mail server creation with web mail clients like Roundcube becomes easy too. Additionally, ClusterCS offers option to customize the recipes, and add or remove services in it.
ClusterCS offers other cPanel features like PHP selection for domains, free LetsEncrypt SSL, monitoring, Backup option, etc.
From our expertise in migrating cloud servers, we see customers using ClusterCS to build powerful and high availability clusters. Fortunately, the panel complete these tasks with a few simple clicks. Moreover, all ClusterCS paid licenses come with unlimited domains too.
How to migrate from CPanel to ClusterCS?
That explains why many users prefer to use ClusterCS as their control panel.
But, when you are considering to replace cPanel with ClusterCS, that involves migration too. And, this migration needs both the source and destination server with same configuration. This applies to versions of Apache, PHP, MySQL and so on.
Let’s now check on how our Migration Specialists do the migration of cPanel account to ClusterCS.
1. Get Cpanel account backup
As the first step, we generate the backup of the cPanel accounts. The Backup Wizard available at the WHM helps to generate multiple account backups at once. However, for better tracking, we always use command line scripts to generate account backups. This also allows us to process the entire server migration in small batches.
The command to take each account’s backup at the folder /bkptransfer as the root user would be:
/scripts/pkgacct username /bkptransfer
When there is only cPanel access for the account, we use the Files > Backups > Download a Full Website Backup option at cPanel to take the backup.
2. Upload to the ClusterCS server
The next step is to upload the backups to the new ClusterCS server.
Here, we prefer to use the scp command that copies the backup files on the new server. By default, we always run the migration commands in ‘screen‘. This way, the task will continue in the background even when the computer connected to the server has any problems with connection.
The exact commands to copy the backup files to the folder /migration/backups on the ClusterCS server will be :
scp backup.tar.gz remote_username@ClusterCS_server_IP:/migration/backups
Similarly, when migrating single accounts, we either use the wget method or ftp upload method to get the backup file.
3. Extract the backup
Unfortunately, there is no direct one click button on ClusterCS panel to import the website content. Therefore, our Migration Engineers need to manually extract and copy the data.
To extract the files, we use :
tar -xzvf backup_username.tar.gz
This would make the entire cPanel directory structure available on the ClusterCS server.
4. Creating new account
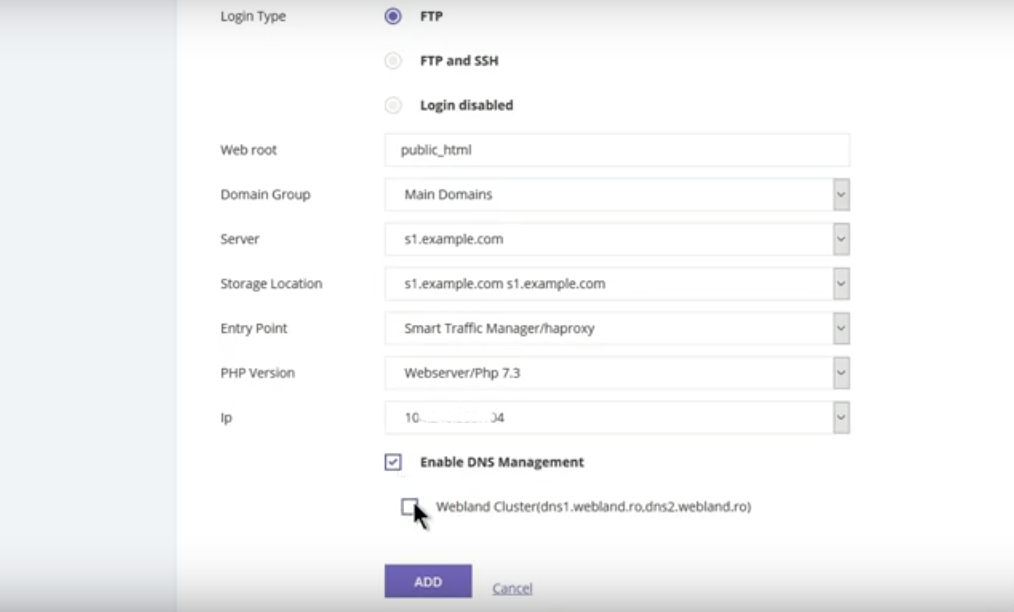
Now, it’s time to create the new account in the ClusterCS panel. To add the domain, we click on Domains >> Add domain option. Then, it allows to set options like Web root that store website contents, Domain Group, IP, NameServers and so on. The setting page of a domain look as below.
5. Copying content, databases and mail
We can now copy the contents from the backup folder to the respective folders of the domain.
For copying the website contents, we do an rsync from the homedir folder in the backup extraction location to the original public_html folder of the domain.
cd /migration/backups/username

rsync -avz homedir/public_html/ /home/username/public_html/
For subdomains, we copy the respective section in the CPanel backup which is public_html/subdomain, and copy it to the subdomain root directory.
Then, we set the ownership of the files and folders as site user.
chown -R username:username /home/username/public_html/
That completes the website content copying.
But, for the websites to work, we need to copy the databases as well.
Here, we add the database users from the “MySQL Databases” tab. Then associate the user to the respective database(s). To restore the database from the backup sql file, we use:
mysql -u database < database_bkp.sql
Finally, we do the mail migration by copying the mail files and setting the correct permissions too.
rsync -avz /migration/backups/username/homedir/mail/domain_name  /var/mails/
chown -R mails. /var/mails/domain_name
6. Temporary link check
Now that we’ve copied the contents over to the ClusterCS server, the next step to to preview the website from the new server. For this, our Migration Engineers either use the IP address preview link or the hosts method. In hosts method, we add an entry for the website pointing to the new IP.
We check the website in the browser and fix errors if any. This check is really important to avoid any potential errors after dns switch.
7. Final DNS change
The final step of cPanel to ClusterCS migration involves DNS switch over. Here, we avoid propagation delay by reducing the DNS TTL values to 5 minutes prior to the migration. Thus, the changes propagate in no time in the internet.
ClusterCS Migration errors
ClusterCS migration also can end up in errors. Recently, migration attempt was failing for a customer due to firewall restrictions on the server. By default, ClusterCS implicitly blocks external SSH access after setup.
As a result, the scp connection from the source to the ClusterCS server was not working. This caused the file transfer to fail.
To resume the migration, we had to allow the SSH port 22 to be reachable from the cPanel IP address. We did the changes to the rules by going to ClusterCS control panel >> Server >> Firewall.
[Need migration from cPanel to ClusterCS? Our experts can help you.]
Conclusion
In short, ClusterCS can also work as a cPanel alternative for your cloud server. Today, we saw the step by step procedure that our Migration Specialists take to migrate accounts from cPanel to ClusterCS.
