


Please Note: This article is part of our historical archive. Because it was published a while ago, some of the information, links, or context may now be outdated.
How do we install Joomla on CyberPanel?
This is a common support request that we receive these days. CyberPanel is one of the popular website control panels.
As a part of our Server Management services, we help our customers with requests related to CyberPanel.
Let us today discuss the possible steps to install Joomla.
Install Joomla on CyberPanel
We will here explain the steps from installing CyberPanel on a new server. After that, we will move on to the steps to install Joomla from the panel.
Install CyberPanel on the Server
Once we have completed the provisioning of the server from our service providers panel, we shall proceed with the steps to install CyberPanel.
Most hosting service providers offer one-click apps to deploy CyberPanel quickly. We just need to choose a subscription plan, server configuration, region and finally run the installation.
Once the installation is complete, we can get the CyberPanel admin password by entering the following command in the server’s command-line interface:
$ sudo cat .litespeed_password
The Command Line Method
We can install CyberPanel via command line with the steps given below:
- Deploy a CentOS 7.x (recommended) or Ubuntu server on a cloud hosting account.
- Login to the server through the command line.
- Run this command: sh <(curl https://cyberpanel.net/install.sh || wget -O – https://cyberpanel.net/install.sh)
- Follow on-screen instructions to complete the installation.
- We can get the CyberPanel admin password with the following command:
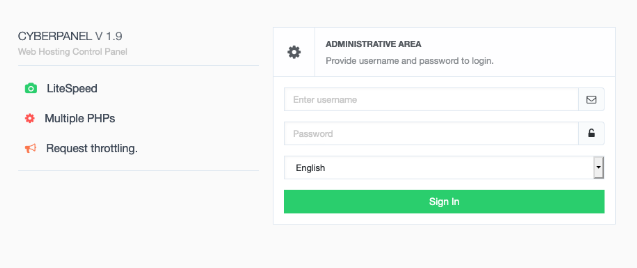
$ sudo cat .litespeed_password - Visit domain.com:8090 to get CyberPanel dashboard login screen.
Install Joomla on CyberPanel
To add a new website, on the CyberPanel dashboard, go to Websites > Create Website. Fill the form and click Create Website button.
After adding the site entry, now we are ready to install Joomla on that particular site. On the CyberPanel dashboard, navigate to Websites > List Websites. Click the Manage link beside the particular website. Choose Joomla from the Application Installer section (bottom). Provide a few basic information and start the installation.
It should take a few minutes to complete the initial CMS installation. Finally, visit our website URL and complete the Joomla installation.
Alternatively, we can download Joomla from the official Joomla site and upload it to the public_html directory of our site via CyberPanel.
In this case, we need to create a database using CyberPanel’s built-in tools. Navigate to the CyberPanel dashboard and we will find the database management tool on the left sidebar. After extracting the compressed folder in public_html, we can simply visit our site URL and initiate the installation manually.
Common error and its fix
When installing Joomla on the new website, at times, we may see an error as given below:
Installation failed. Error message: Target directory should be empty before installation, otherwise data loss could occur. [404]
This happens because when we create a new site from CyberPanel, a default index.html is created at doc root and .well-known directory if we create a website with SSL.
CyberPanel Joomla installer checks if the installation directory is empty or not. So we need to delete the index.html file before we can install Joomla. We do not need to delete the .well-known folder (if any) as this folder will be ignored and kept intact.
[Need any further assistance to fix CyberPanel errors? – We’re available 24*7]
Conclusion
In short, we can easily install Joomla from the CyberPanel dashboard. Today we saw how our Support Engineers perform this task.
