


Please Note: This article is part of our historical archive. Because it was published a while ago, some of the information, links, or context may now be outdated.
JupyterLab Environment on Ubuntu 18.04 is highly feature-rich and makes it easy for users, particularly in the fields of Data Science and AI.
As part of our Server Management Services, we assist our customers with several Ubuntu queries.
Today. let us see how to set up a JupyterLab Environment on Ubuntu 18.04
JupyterLab Environment on Ubuntu
This article focuses on some steps our Support Engineers employ to install and set up JupyterLab Environment on Ubuntu
We will also configure the server to be able to connect to the JupyterLab instance remotely from any web browser, securely, using a domain name.
To begin, we will first look at the prerequisites:
- An Ubuntu 18.04 server with a non-root user account with Sudo privileges.
- An installation of the Python Anaconda Distribution on the server.
- A registered domain name or sub-domain where we have access to edit DNS records.
Furthermore, the following DNS records set up for our domain:
- An A record with your_domain pointing to your server’s public IP address.
- An A record with www.your_domain pointing to your server’s public IP address.
Step 1 – Set Up a Password
In this step, we will set up a password on our JupyterLab installation. It is important to have a password in place since the instance will be publicly accessible.
First, we make sure to activate the Anaconda environment.
To activate the environment, we use the following command:
$ conda activate base
Our prompt will change in the terminal to reflect the default Anaconda environment base:
bob@server:~$
All future commands in this article will be run within the base environment.
With our active Anaconda environment, we are ready to set up a password for JupyterLab on our server.
First, let us generate a configuration file for Jupyter:
$ jupyter notebook –generate-config
We will receive the following output:
Writing default config to: /home/bob/.jupyter/jupyter_notebook_config.py
Both JupyterLab and Jupyter Notebook share the same configuration file.
Now, we use the following command to set a password for accessing our JupyterLab instance remotely:
$ jupyter notebook password
Jupyter will prompt us to provide a password of our choice:
Enter password:
Verify password:
[NotebookPasswordApp] Wrote hashed password to /home/bob/.jupyter/jupyter_notebook_config.json
Jupyter stores the password in a hashed format at
/home/bob/.jupyter/jupyter_notebook_config.jsonFinally, we use the cat command to view the hashed password:
$ cat /home/bob/.jupyter/jupyter_notebook_config.json
We will receive an output similar to:
{
“NotebookApp”: {
“password”: “sha1:your_hashed_password”
}
}
Then, we copy the value in the password key of the JSON and store it temporarily. We have set up a password for our JupyterLab instance.
Moving forward, let us see how our Support Engineers create a Let’s Encrypt certificate.
Step 2 – Configure Let’s Encrypt
In this step, We will create a Let’s Encrypt certificate for our domain. This will secure our data when we access our JupyterLab environment from our browser.
First, we will install Certbot on the server. We begin by adding its repository to the apt sources:
$ sudo add-apt-repository ppa:certbot/certbot
On execution, we will be asked to press ENTER to complete adding the PPA:
This is the PPA for packages prepared by Debian Let’s Encrypt Team and backported for Ubuntu.

Note: Packages are only provided for currently supported Ubuntu releases.
More info: https://launchpad.net/~certbot/+archive/ubuntu/certbot
Press [ENTER] to continue or Ctrl-c to cancel adding it.
Press ENTER to continue adding the PPA.
After the execution, refresh the apt sources using the apt update command:
$ sudo apt update
Next, we will install Certbot:
$ sudo apt install certbot
Before we can start running Certbot to generate certificates for our instance, we will allow access to port
:80 :443Port
:80http :443httpshttphttps :443 :80First, we allow access to port :80:
$ sudo ufw allow 80
We will receive the following output:
Rule added
Rule added (v6)
Next, we allow access to port :443:
$ sudo ufw allow 443
Rule added
Rule added (v6)
Finally, we run Certbot to generate certificates for our instance using the following command:
$ sudo certbot certonly –standalone
The standalone flag directs Certbot to run a temporary server for the duration of the verification process.
It will prompt us for our email:
Saving debug log to /var/log/letsencrypt/letsencrypt.log
Plugins selected: Authenticator standalone, Installer None
Enter email address (used for urgent renewal and security notices) (Enter ‘c’ to
cancel): your_email
We enter a working email and press ENTER.
Next, it will ask us to review and agree to the Terms of Service for Certbot and Let’s Encrypt. Review the terms, type A if you accept, and press ENTER:
– – – – – – – – – – – – – – – – – – – – – – – – – – – – – – – – – – – – – – – –
Please read the Terms of Service at
https://letsencrypt.org/documents/LE-SA-v1.2-November-15-2017.pdf. You must
agree in order to register with the ACME server at
https://acme-v02.api.letsencrypt.org/directory
– – – – – – – – – – – – – – – – – – – – – – – – – – – – – – – – – – – – – – – –
(A)gree/(C)ancel: A
It will now prompt us to share our email with the Electronic Frontier Foundation. Type your answer and press ENTER:
– – – – – – – – – – – – – – – – – – – – – – – – – – – – – – – – – – – – – – – –
Would you be willing to share your email address with the Electronic Frontier
Foundation, a founding partner of the Let’s Encrypt project and the non-profit
organization that develops Certbot? We’d like to send you email about our work
encrypting the web, EFF news, campaigns, and ways to support digital freedom.
– – – – – – – – – – – – – – – – – – – – – – – – – – – – – – – – – – – – – – – –
(Y)es/(N)o: Y/N
Finally, we will be asked to enter our domain name. Type in the domain name without any protocol specification:
Please enter in your domain name(s) (comma and/or space separated) (Enter ‘c’
to cancel): your_domain
Obtaining a new certificate
Performing the following challenges:
http-01 challenge for your_domain
Waiting for verification…
Cleaning up challenges

IMPORTANT NOTES:
– Congratulations! Your certificate and chain have been saved at:
/etc/letsencrypt/live/your_domain/fullchain.pem
Your key file has been saved at:
/etc/letsencrypt/live/your_domain/privkey.pem
Your cert will expire on 2020-09-28. To obtain a new or tweaked
version of this certificate in the future, simply run certbot
again. To non-interactively renew *all* of your certificates, run
“certbot renew”
– Your account credentials have been saved in your Certbot
configuration directory at /etc/letsencrypt. You should make a
secure backup of this folder now. This configuration directory will
also contain certificates and private keys obtained by Certbot so
making regular backups of this folder is ideal.
– If you like Certbot, please consider supporting our work by:

Donating to ISRG / Let’s Encrypt: https://letsencrypt.org/donate
Donating to EFF: https://eff.org/donate-le
Certbot will perform domain verification and generate certificates and keys for our domain and store them at
/etc/letsencrypt/live/your_domainNow that we have set up our Let’s Encrypt certificate, we will update our JupyterLab configuration file.
Step 3 – Configure JupyterLab
In this step, w will edit the JupyterLab configuration to make sure it uses the Let’s Encrypt certificate. We will also make it accessible using the password we set up.
First, we need to edit the JupyterLab configuration file at
/home/bob/.jupyter/jupyter_notebook_config.py$ nano /home/bob/.jupyter/jupyter_notebook_config.py
Now, we navigate to the line defining the value for
c.NotebookApp.certfile… ## The full path to an SSL/TLS certificate file. c.NotebookApp.certfile = ‘/etc/letsencrypt/live/your_domain/fullchain.pem’ …
Next, we find the
c.NotebookApp.keyfile… ## The full path to a private key file for usage with SSL/TLS. c.NotebookApp.keyfile = ‘/etc/letsencrypt/live/your_domain/privkey.pem’ …
c.NotebookApp.certfilec.NotebookApp.keyfilehttpsThen, we navigate to the line defining the
c.NotebookApp.ip… ## The IP address the notebook server will listen on. c.NotebookApp.ip = ‘*’ …
c.NotebookApp.ip*Next, we find the
c.NotebookApp.open_browser… ## Whether to open in a browser after starting. The specific browser used is # platform dependent and determined by the python standard library `webbrowser` # module, unless it is overridden using the –browser (NotebookApp.browser) # configuration option. c.NotebookApp.open_browser = False …
By default, JupyterLab attempts to initiate a browser session when it starts running. Since we do not have a browser on the remote server, it is necessary to turn this off to avoid errors.
Next, we navigate down to the
c.NotebookApp.password… ## Hashed password to use for web authentication. # # To generate, type in a python/IPython shell: # # from notebook.auth import passwd; passwd() # # The string should be of the form type:salt:hashed-password. c.NotebookApp.password = ‘your_hashed_password’ …
JupyterLab will use this hashed password configuration to check the password we enter for access in our browser.
Finally, we navigate through the file and update the entry of the
c.NotebookApp.port… ## The port the notebook server will listen on. c.NotebookApp.port = 9000 …
c.NotebookApp.portufwOnce we are done, save and exit the file.
Finally, allow traffic on the 9000 port:
$ sudo ufw allow 9000
We will receive the following output:
Rule added
Rule added (v6)
Now that we have set all the configurations, we will run JupyterLab.
Step 4 – Run JupyterLab
In this step, we will perform a test run of the JupyterLab instance.
First, we change the current working directory to the user’s home directory:
$ cd ~
Now, we modify the access permissions of the certificate files to allow JupyterLab to access them. Change the permissions of the
/etc/letsencryp$ sudo chmod 750 -R /etc/letsencrypt $ sudo chown bob:bob -R /etc/letsencrypt
Then, we invoke the JupyterLab instance to start using the following command:
$ jupyter lab
This command accepts several configuration parameters. However, since we have already made these changes in the configuration file, we do not need to provide them here explicitly. We can provide them as arguments to this command to override the values in the configuration file.
We can now navigate to
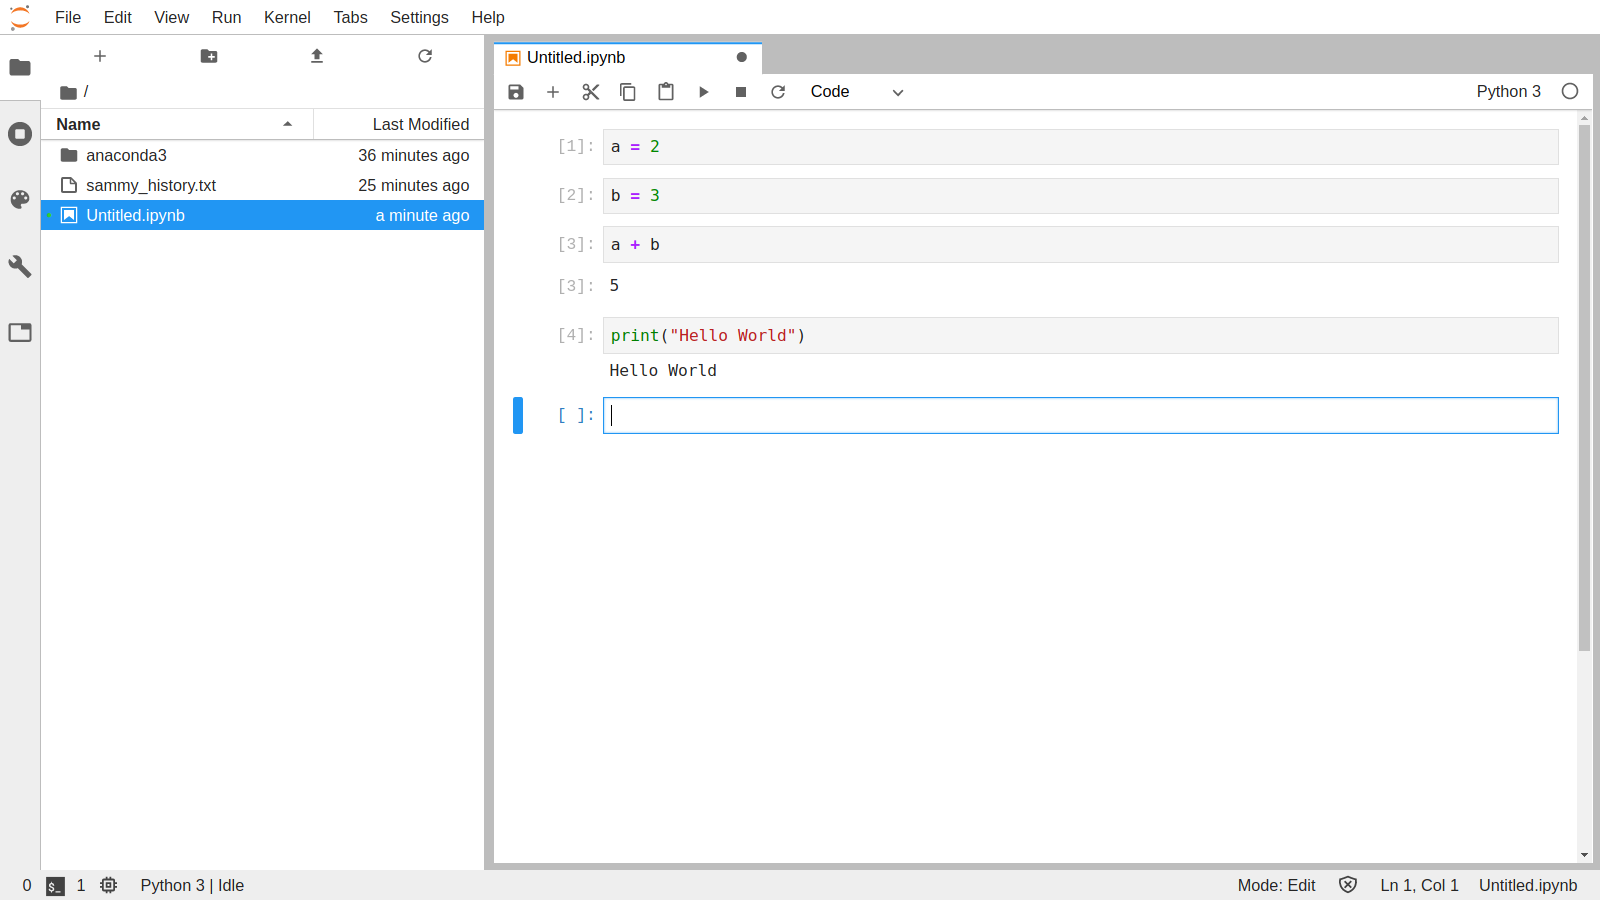
https://your_domain:9000If we login with the password we set up for JupyterLab, we will be presented with the JupyterLab interface:
Finally, press CTRL+C twice to stop the JupyterLab server.
In the next step, we will set up a system service so that the JupyterLab server can be run in the background continuously.
Step 6 – Set Up a systemd Service
In this step, we will create a
systemdFirst, we will have to create a
.service$ sudo nano /etc/systemd/system/jupyterlab.service
Then we add the following content to the
/etc/systemd/system/jupyterlab.service file[Unit] Description=Jupyter Lab Server [Service] User=bob Group=bob Type=simple WorkingDirectory=/home/bob/ ExecStart=/home/bob/anaconda3/bin/jupyter-lab –config=/home/bob/.jupyter/jupyter_notebook_config.py StandardOutput=null Restart=always RestartSec=10 [Install] WantedBy=multi-user.target
Once done, we Save and exit the editor.
The service file automatically registers itself in the system as a daemon. However, it does not run by default.
We use the
systemctl$ sudo systemctl start jupyterlab
This starts the JupyterLab server in the background. We can check the server status by using the following command:
$ sudo systemctl status jupyterlab
We will receive the following output:
● jupyterlab.service – Jupyter Lab Server
Loaded: loaded (/etc/systemd/system/jupyterlab.service; disabled; vendor preset: enabled)
Active: active (running) since Sun 2020-04-26 20:58:29 UTC; 5s ago
Main PID: 5654 (jupyter-lab)
Tasks: 1 (limit: 1152)
CGroup: /system.slice/jupyterlab.service
└─5654 /home/sammy/anaconda3/bin/python3.7 /home/sammy/anaconda3/bin/jupyter-lab –config=/home/
Press Q to exit the service status output.
We can now head to
https://your_domain:9000
Step 7 – Configure Renewal of Let’s Encrypt Certificate
In this final step, we will configure SSL certificates by Let’s Encrypt to automatically renew when they expire every 90 days and then restart the server to load the new certificates.
While Certbot takes care to renew the certificates for our installation, it does not automatically restart the server. To configure the server to restart with new certificates, we will have to provide a
renew_hookWe will need to edit the
/etc/letsencrypt/renewal/your_domain.confrenew_hookFirst, use the following command to open the
/etc/letsencrypt/renewal/your_domain.conf$ sudo nano /etc/letsencrypt/renewal/your_domain.conf
Then, at the bottom of this file, we add the following line:
…
renew_hook = systemctl reload jupyterlab
Then, we save and exit the file.
Finally, we run a dry-run of the renewal process to verify that your configuration file is valid:
$ sudo certbot renew –dry-run
If the command runs without any error, our Certbot renewal has been set up successfully and will automatically renew and restart our server when the certificate is near the date of expiry.
[Finding it hard to manage? We’d be happy to assist]
Conclusion
In short, we saw how our Support Techs set up a JupyterLab Environment on Ubuntu and made it accessible remotely. Along with that, our environment has all the benefits of cloud-based servers.
