


Please Note: This article is part of our historical archive. Because it was published a while ago, some of the information, links, or context may now be outdated.
Let us take a closer look at how to configure SpamAssassin Exim and how to set it up. At Bobcares our Server Management Support services can give you a detailed overview of the process.
What is SpamAssassin?

It is an application under Apache License 2.0. It can filter e-mail spam using content to go with it. SpamAssassin is a powerful email filter that employs a variety of tests to detect bulk spam emails. And it applies tests to email headers and content to group emails using complex methods.
Now let us look at how to set up SpamAssassin in Exim.
UPDATE THE SYSTEM
sshscreenscreen -U -S exim-spamdOnce we are in a
screenyumyum updateINSTALL SPAMASSASSIN
The next step to set up the SpamAssassin Exim is to install the Spamassassin. It is available in the CentOS
baseyumyum install spamassassinAfter installing it, use any editor and modify
/etc/mail/spamassassin/local.cfvim /etc/mail/spamassassin/local.cfrequired_hits 5
report_safe 0
rewrite_header Subject [SPAM]
required_score 5.0. systemctl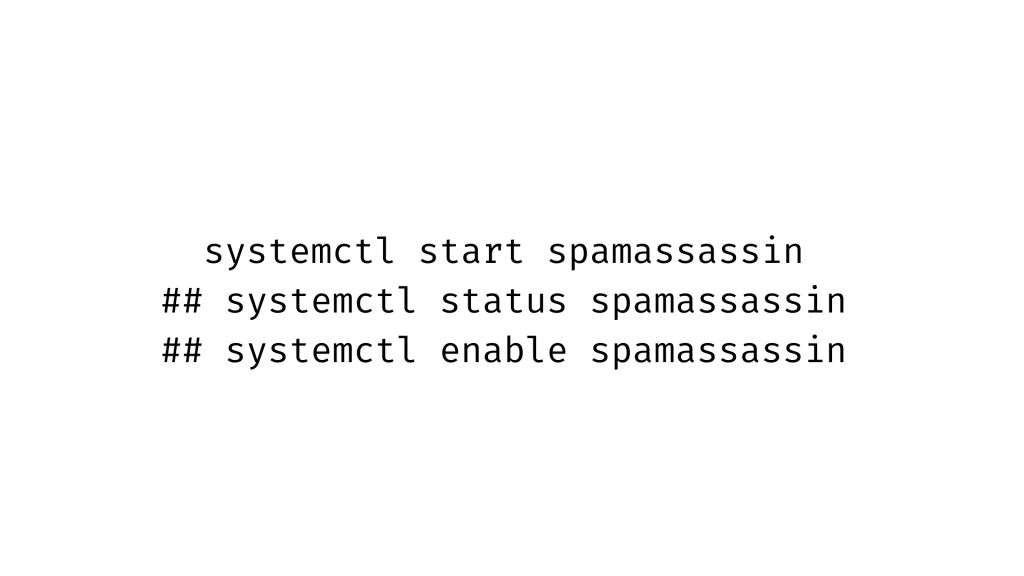
After that we have to update the SpamAssassin rules using the command line given below:
## sa-update --nogpgAfter that, use
ssiproute2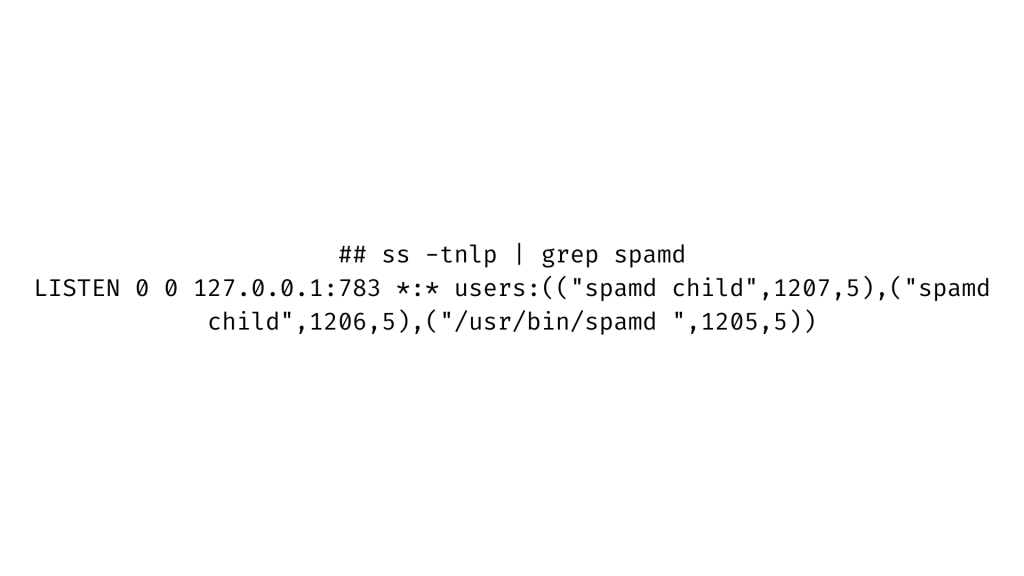
Configure EXIM With Spamassassin
The next step is to set up Exim to use Spamassassin to scan and tag junk emails as SPAM. As a result, create a backup of the current Exim setup file by using:
## cp /etc/exim/exim.conf{,.backup-no-spamd}After that, open
exim.conf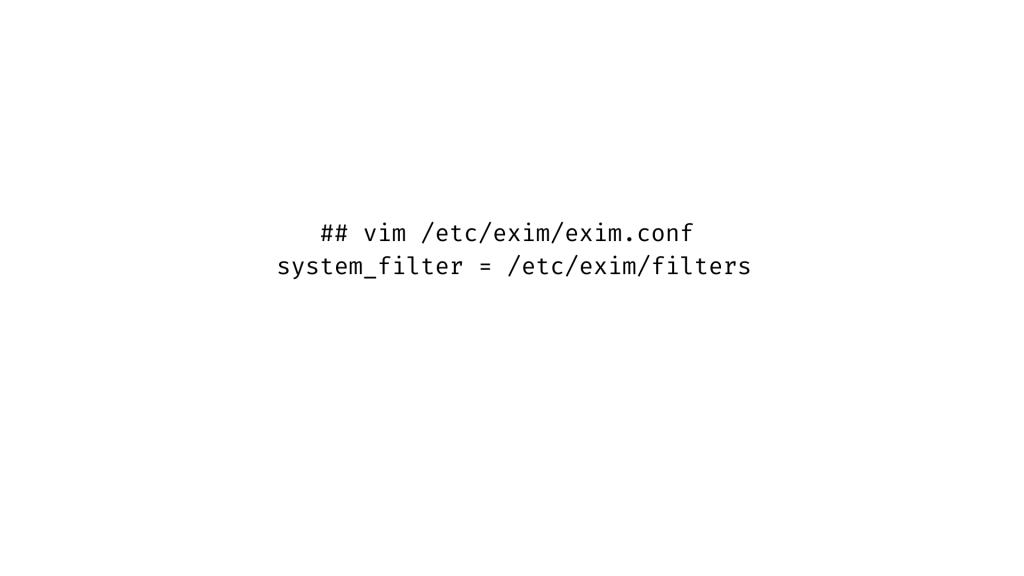
After that, add or remove the
spamd_address## vim /etc/exim/exim.conf
spamd_address = 127.0.0.1 783Following that, we must include the following in the Exim configuration files
ACLs## vim /etc/exim/exim.confAvoid Spam Assassin determines whether the message is too big.
accept condition = ${if >={$message_size}{100000} {1}}add_header = X-Spam-NoteAllow SpamAssassin to fail or time out before running it. If this occurs, add a warning message and accept the letter. If the
SA
Add score and report headers:
warn add_header = X-Spam-Score: $spam_score ($spam_bar)\n\

X-Spam-Report: $spam_report,
After that, under
/etc/exim/filters
Then restart Exim to see the changes take effect. This is the final step to set up SpamAssassin in Exim.
## systemctl restart exim

## systemctl status exim
Test Spamassassin After Exim Setup
To test the setup, send a test email to any email account on the email server with the subject:
XJS*C4JDBQADN1.NSBN3*2IDNEN*GTUBE-STANDARD-ANTI-UBE-TEST-EMAIL*C.34X.And we should see the following lines in the email header:

[Need assistance with similar queries? We are here to help]
Conclusion
To sum up we have learned how to set up SpamAssassin Exim. With the support of our Server management services, we have gone through all of the setup steps.
PREVENT YOUR SERVER FROM CRASHING!
Never again lose customers to poor server speed! Let us help you.
Our server experts will monitor & maintain your server 24/7 so that it remains lightning fast and secure.
