25% off on first invoice for all services*

SPRING SALE

Use coupon

*Offer valid for new customers only

25% off on first invoice for all services*

SPRING SALE

Use coupon

*Offer valid for new customers only

Need help?

Our experts have had an average response time of 11.43 minutes in March 2024 to fix urgent issues.

We will keep your servers stable, secure, and fast at all times for one fixed price.

DigitalOcean Spaces upload file – Easy way to do it

by | Mar 8, 2020

Confused with how to upload a file to your DigitalOcean Spaces? We can help you with it.

Usually, users prefer uploading files to the Spaces via the DigitalOcean control panel. However, command-line upload saves a lot of time.

At Bobcares, we often receive requests regarding Droplets as part of our DigitalOcean Managed Services.

Today, let’s see how our Support Engineers easily upload files for our customers.


A brief look at DigitalOcean Spaces

DigitalOcean Spaces allows the storage of a large amount of data.

Also, these are suitable for storing unstructured data like audio, images, videos, etc.

Similarly, Spaces support CDN (Content Delivery Network) which helps to process data fastly. We can easily upload files to Spaces from the control panel.

But, due to browser limitations, the control panel is more preferred to upload files smaller than 2GB. So, let us have a look at how we can easily upload files to the Spaces.


How we upload a file to DigitalOcean Spaces?

Recently, one of our customers approached us with a query. He wanted to upload some files to Spaces via the DigitalOcean control panel.

Our Support Engineers suggested two methods to upload files to it.

Spaces allow dragging and dropping of files, folders, etc. And, this method also supports uploading items nested inside the folders.

The other method to upload files is by selecting the “upload files” button.

On clicking this button, a window to add files from the local computer will open. But, we cannot add folders using this option.

digitalocean upload file

Also, on the main page of our Spaces, there is an option to create a new folder.

On clicking the New folder button, we can create a new folder and can upload files to it.


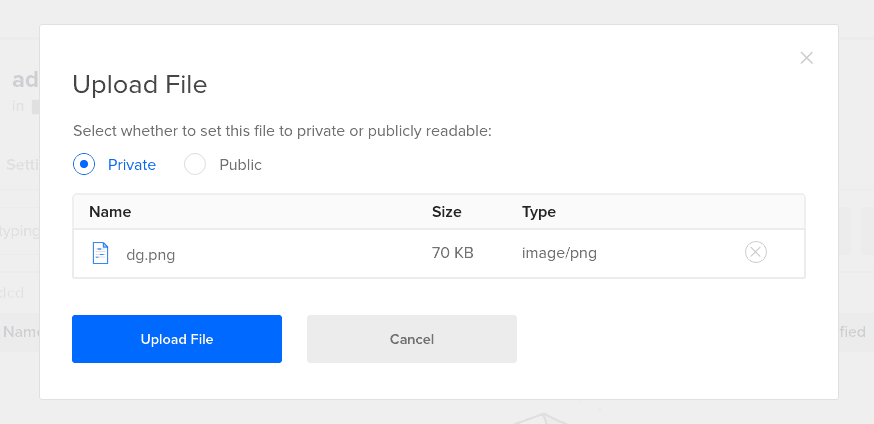
Set File permissions

An important factor while uploading files to Spaces is setting the file permissions.

Files in Space will have two options for visibility permission. These are Public and Private.

If we choose Public, this means anyone on the internet can view the contents.

And, the private option controls the visibility of the file to its owners only. By default, file permissions are set to Private.

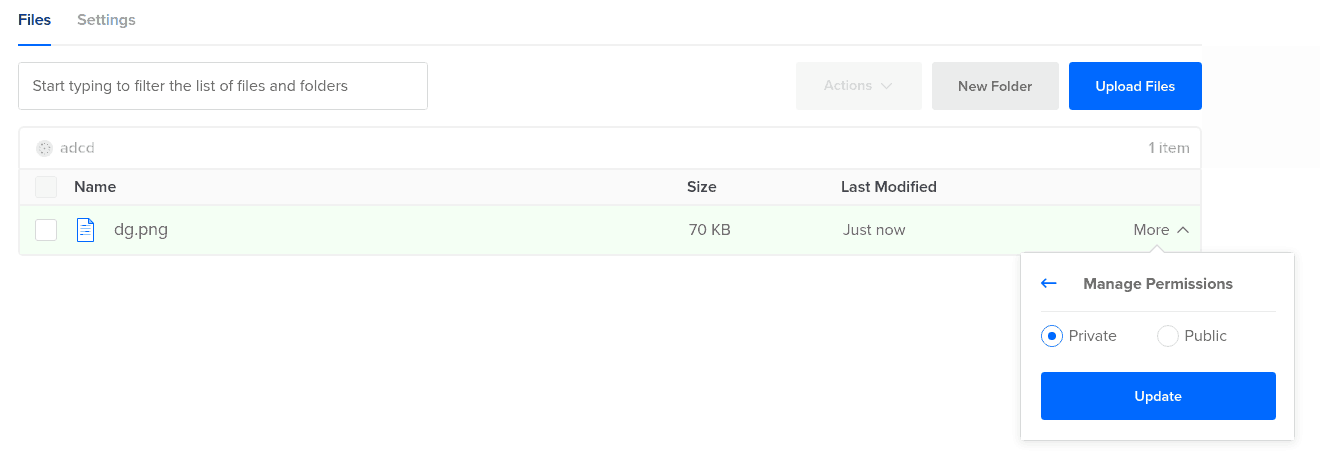
Moreover, we can change the permission of an already uploaded file by navigating to More>>Manage Permissions.

digitalocean upload file

In real production servers, our DigitalOcean Experts set up scripts to automatically backup content to Spaces. These scripts work via command-line and gives readily available backups too.


[Need more assistance to upload files in Space?- We are here to help you.]


Conclusion

In today’s writeup, we saw how our Support Engineers upload a file in DigitalOcean Spaces.

PREVENT YOUR SERVER FROM CRASHING!

Never again lose customers to poor server speed! Let us help you.

Our server experts will monitor & maintain your server 24/7 so that it remains lightning fast and secure.

GET STARTED

var google_conversion_label = "owonCMyG5nEQ0aD71QM";

0 Comments

Submit a Comment

Your email address will not be published. Required fields are marked *

Categories

Tags

Privacy Preference Center

Necessary

Necessary cookies help make a website usable by enabling basic functions like page navigation and access to secure areas of the website. The website cannot function properly without these cookies.

PHPSESSID - Preserves user session state across page requests.

gdpr[consent_types] - Used to store user consents.

gdpr[allowed_cookies] - Used to store user allowed cookies.

PHPSESSID, gdpr[consent_types], gdpr[allowed_cookies]
PHPSESSID
WHMCSpKDlPzh2chML

Statistics

Statistic cookies help website owners to understand how visitors interact with websites by collecting and reporting information anonymously.

_ga - Preserves user session state across page requests.

_gat - Used by Google Analytics to throttle request rate

_gid - Registers a unique ID that is used to generate statistical data on how you use the website.

smartlookCookie - Used to collect user device and location information of the site visitors to improve the websites User Experience.

_ga, _gat, _gid
_ga, _gat, _gid
smartlookCookie
_clck, _clsk, CLID, ANONCHK, MR, MUID, SM

Marketing

Marketing cookies are used to track visitors across websites. The intention is to display ads that are relevant and engaging for the individual user and thereby more valuable for publishers and third party advertisers.

IDE - Used by Google DoubleClick to register and report the website user's actions after viewing or clicking one of the advertiser's ads with the purpose of measuring the efficacy of an ad and to present targeted ads to the user.

test_cookie - Used to check if the user's browser supports cookies.

1P_JAR - Google cookie. These cookies are used to collect website statistics and track conversion rates.

NID - Registers a unique ID that identifies a returning user's device. The ID is used for serving ads that are most relevant to the user.

DV - Google ad personalisation

IDE, test_cookie, 1P_JAR, NID, DV, NID
IDE, test_cookie
1P_JAR, NID, DV
NID
hblid

Security

These are essential site cookies, used by the google reCAPTCHA. These cookies use an unique identifier to verify if a visitor is human or a bot.

SID, APISID, HSID, NID, PREF