Let’s see the steps to set up Elasticsearch on the Vultr CentOS instance. At Bobcares, with our Vultr Managed Service, we can handle your issues.
Steps to Set Up Elasticsearch on Vultr
A popular open source full-text search and analytics tool is called Elasticsearch. Owing to its adaptability, scalability, and user-friendliness, it is often used as the basis of technology for several apps that need specific search features. We can run the below steps to use Elasticsearch on the Vultr instance:
1. Initially, set up the needed packages.

2. Open Elasticsearch and import the PGP signing key.
![]()
3. Add the Elasticsearch APT repository.

4. Refresh the system.

5. Set up Elasticsearch.

6. Now edit the Elasticsearch config file.

Also, uncomment the following lines:

Modify the value of network.host to localhost. Then, include the following line in the Discovery section.
![]()
Now, the line will be like:

7. Save and Exit the file.
8. Reload the daemon.
![]()
9. Launch the Elasticsearch service.

10. Now, enable the service to start at system startup.

11. Ensure that Elasticsearch is open on port 9200 and is working.

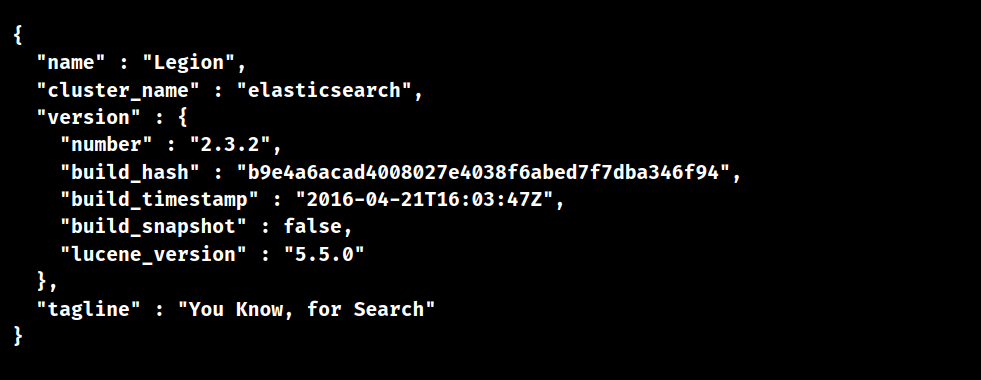
12. Using the curl command, we may test Elasticsearch after setup:
![]()
13. A JSON document from Elasticsearch will be output to the terminal after the process is successful:

[Need to know more? Click here to reach us.]
Conclusion
Here, we use a default setup. We can also use a more customized setting if we wish to use Elasticsearch in a production setting.
PREVENT YOUR SERVER FROM CRASHING!
Never again lose customers to poor server speed! Let us help you.
Our server experts will monitor & maintain your server 24/7 so that it remains lightning fast and secure.


0 Comments