


let us take a closer look at the bastion host aws cloudformation and the configurations necessary to set it up with the support of our AWS support services at Bobcares.
Linux Bastion Hosts on AWS
Amazon Web Services creates the Quick Start (AWS). Quick Starts are reference installations that assist users in deploying popular technologies on AWS using best practices from AWS. This Quick Start sets up Linux bastion hosts on AWS.
Architecture for Deploying Bastion Host on AWS CloudFormation
Deploying this Quick Start with the default parameters creates the AWS Cloud environment for the following Linux Bastion Hosts. The bastion host no longer has a public IP address assigned by default for remote access.
We can connect to the Linux instance using Session Manager, an AWS Systems Manager feature.
With this article let’s setup the following:
- A highly available architecture with two Availability Zones.
- A virtual private cloud (VPC) has been set up with public and private subnets. It is in accordance with AWS best practices to give us our own virtual network on AWS.
- In the public subnets:
a) Gateways for managed network address translation (NAT) to provide outbound internet access for resources in private subnets.
b) An Auto Scaling group Linux bastion host for connecting to Amazon Elastic Compute Cloud instances in public and private subnets.
- The Linux bastion host shell history logs are present in the Amazon CloudWatch log group.
- AWS Systems Manager for access to the bastion host.
The template that deploys this Quick Start into an existing VPC skips the asterisk-marked components. It will request the existing VPC setup.
Deployment options
This Quick Start provides the following deployment options:
- Install Linux Bastion Hosts in a new VPC. This option creates a new Amazon Web Services environment. It will include a VPC, private and public subnets, NAT gateways, Linux bastion hosts, and other materials.
- Install Linux Bastion Hosts within an live VPC. This option creates Linux Bastion Hosts within the existing AWS architecture.
This Quick Start includes templates for each of these available options. It also allows us to set up Classless Inter-Domain Routing (CIDR) blocks, instance kinds, and Linux Bastion Hosts.
Predeployment steps
We must build a key pair to access the Linux bastion server through SSH and the AWS Systems Manager. We can also perform optional customization on the Linux bastion host banner.
As seen in the image below, this Quick Start offers a banner for the Linux bastion hosts:
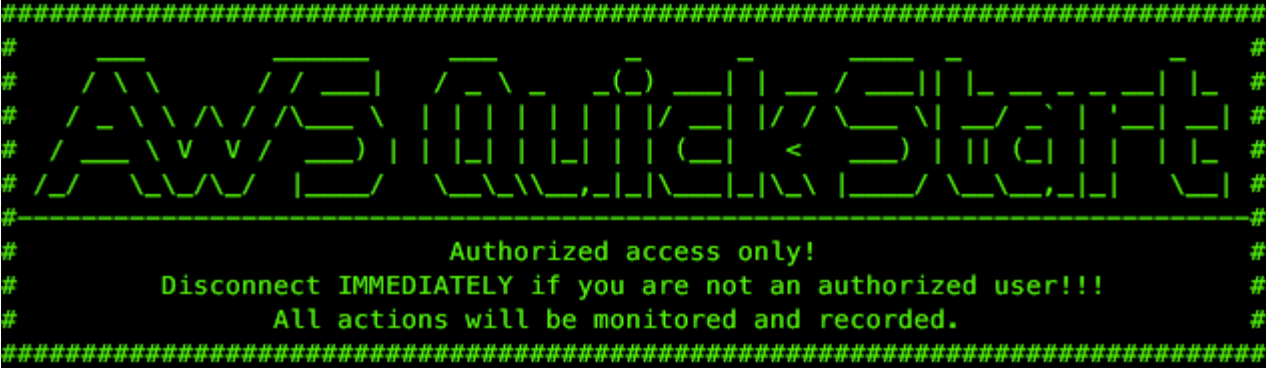
To turn on the banner, we may set the Bastion banner option to true during deployment. By default, the banner is off. It is better to turn it on upon release. This will makes the users aware of the recording of all of their activities.
To personalize the banner, we must first create an ASCII text file with the banner’s content. We have to upload the file to an S3 bucket or another publicly available place. The host should be able to view the file.
Deployment steps
Follow the steps given below for deployment for bastion host aws cloudformation:
- To begin, log in to the AWS account and run the Quick Start, as given under Deployment choices. The AWS CloudFormation interface opens with a template already filled up. The deployment process takes roughly 5 minutes.
- Select the appropriate AWS Region and then click Next.
- Keep the default setting for the template URL on the Create stack page, and then click Next.
- If necessary, modify the stack name on the Specify stack information page. Examine the template’s settings. Fill in the blanks with the values for the parameters that require it. Review the default settings for all other limits and make any important changes. Select Next, we may examine and modify the rules and limits.
Change the default values for the following Amazon Simple Storage Service (Amazon S3) rules limits. This is unless we are changing the Quick Start templates for the projects. Quick Start S3 bucket name, Quick Start S3 bucket Region, and Quick Start S3 key prefix. When we change these settings, code references will update to link to the new Quick Start site.
- We may define tags for resources in the stack and select advanced settings on the Configure stack options page. Click on the Next button.
- Review and approve the template choices on the Review page. Select all of the checkboxes under Capabilities to recognize that the template produces AWS Identity. And it will let Access Management (IAM) resources that may require the ability to grow macros automatically.
- To deploy the stack, choose Create stack.
- When the stack’s status is CREATE COMPLETE, the Linux Bastion Hosts deployment is complete.
- Select the Outputs tab to see the newly produced resources.
Postdeployment steps
Before getting into the set up we have to confirm that we can log in to the bastion host. After that Connect to the bastion host. Depending on your Linux distribution, choose one of the following user names:
- Amazon Linux / SUSE Linux Enterprise Server (SLES): ec2 user
- CentOS: centos
- Ubuntu: ubuntu
When we deploy the templates, we provide the Linux distribution in the Bastion AMI operating system limit and rules.
[Need assistance with similar queries? We are here to help]
Conclusion
To conclude we have now learned more about the bastion host aws cloudformation and the configuration steps necessary to set it up with the support of our AWS Support Services at Bobcares.
PREVENT YOUR SERVER FROM CRASHING!
Never again lose customers to poor server speed! Let us help you.
Our server experts will monitor & maintain your server 24/7 so that it remains lightning fast and secure.


0 Comments