


Let’s take a closer look at the Cloudflare WAF setup in this article. Bobcares, as a part of our Server Management Services offers solutions to every WAF query that comes our way.
Cloudflare WAF Setup
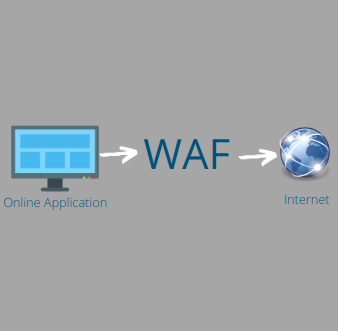
The Web Application Firewall/ WAF monitors and filters the HTTP traffic between an online application and the Internet. It also provides security to the applications against attacks such as SQL injection, session hijacking, and a lot more. We can ensure the security of the user data by utilizing a WAF.
Web Application Firewall controls unwanted traffic using rulesets, which are collections of rules. The WAF implementation can be of three types, namely:
- Host-based WAF
- Network-based WAF
- Cloud-based WAF
How To Setup Cloudflare WAF?
Let’s explore the steps to setup the customized Cloudflare WAF.
1. Firstly, locate the Firewall tab.
2. Then on the new page, select the Web Application Firewall sub-tab.
3. Then confirm the WAF is set to OFF.
4. Now configure the WAF settings according to the need.
5. Under the Package: Cloudflare Rule Set, click on the Rule details. Now we can see the list of the rule groups we can switch on/ off.
6. Then click on any of the group names which we need to configure to setup WAF in Cloudflare.
7. Now we will see a list of rules and choices in order to configure the Cloudflare ruleset.
8. Here, we can change the mode from “Default” to a preferred option. E.g., we can use the Simulate as the customized option to get the highest level of protection while maintaining regular, necessary business operations. Other options available are:
- Block: Prevents site access from users with that IP.
- Challenge: A captcha page will be shown before the visitor can access the site.
- Disable: Turn off this particular rule.
9. Now configure other rules and rulesets also.
10. Then configure the OWASP ruleset package. This package offers a collection of general threat detection rules that are simple to plug in and offer a fundamental level of security for any online application.
In the “rule details” section of the OWASP package, we can also enable/disable specific rule groups. Following that, we can use the advanced option to handle rules at the individual rule level.
11. Finally, turn the Web Application Firewall On.
12. In order to see the simulated and challenged firewall events, we can scroll down until we find the “Firewall Events” area under the “Traffic” tab.
13. We can keep modifying the settings till our needs are satisfied.
[Need further help? We’re available 24/7.]
Conclusion
To conclude, the article provides a detailed explanation from our Tech team on the setup of Cloudflare WAF.
PREVENT YOUR SERVER FROM CRASHING!
Never again lose customers to poor server speed! Let us help you.
Our server experts will monitor & maintain your server 24/7 so that it remains lightning fast and secure.


This document needs to be updated. There is no “Firewall” menu option. There is no ON/OFF switch (that I could find.)
In the dashboard or control panel for the selected domain, you should see a navigation menu on the left-hand side. Look for a “Firewall” or “Firewall Rules” option in this menu.