


Trying to install OpenLiteSpeed in your Ubuntu 18.04? We can help you.
OpenLiteSpeed is an open-source edition of the LiteSpeed webserver.
At Bobcares, customers often approach us to install the OpenLiteSpeed web server, as a part of our Server Management Service.
Today, we’ll see the steps our Support Engineers use to install and setup OpenLiteSpeed in Ubuntu 18.04.
What is OpenLiteSpeed?
OpenLiteSpeed is the open-source edition of the LiteSpeed webserver. It is a powerful cache engine with Apache-compatible rewrite rules.
The OpenLiteSpeed server suits for users with individual websites that require fewer changes. For websites with frequent changes, OpenLiteSpeed may not work. This is because to load a new/changed .htaccess file, OpenLiteSpeed requires a restart.
However, the LiteSpeed webserver is ideal for shared hosting. Here, the websites will be having frequent updates. So the webserver should be able to autodetect the changes in .htaccess and restart if needed.
How to install OpenLiteSpeed in Ubuntu 18.04?
Let’s see how our Support Engineers install OpenLiteSpeed from the repository.
OpenLiteSpeed provides a software repository. We can use this repository to download and install the web server in Ubuntu. That is, to install OpenLiteSpeed, firstly we need to add the repository. To add the repository to an Ubuntu server we use the command,
wget -O - http://rpms.litespeedtech.com/debian/enable_lst_debain_repo.sh | bash
Then we install the webserver using the command,
apt install openlitespeed
Usually, this command downloads the latest version of the webserver. But if any user requires a specific version of the webserver, we add the version to the command.
The default installation directory is /usr/local/lsws. So to start the server we run,
/usr/local/lsws/bin/lswsctrl start
And the output appears as,
[OK] litespeed: pid=xxxx.
Next, we need to install PHP for OpenLiteSpeed. For this, we use the command,
apt install lsphp73
Then we create a soft link to the PHP processor as it directs the webserver to use the correct PHP version.
ln -sf /usr/local/lsws/lsphp73/bin/lsphp /usr/local/lsws/fcgi-bin/lsphp5
Now the installation is complete. We check the status of the OpenLiteSpeed web server using the command,
/usr/local/lsws/bin/lswsctrl status
In a successful installation, the output will be
litespeed is running with PID xxxx.
By default, OpenLiteSpeed uses the port 8088 for the default site. Whereas it uses the port 7080 for the admin interface. So we need to allow these port on the firewall.
In a ufw firewall, we enable it using the commands,
ufw allow 8088
ufw allow 7080
Now while accessing the server in the browser, it will load the respective pages. For default page, the URL is as,
https://domainname.com_or_IP:8088
The page that loads appear as,

And for the admin interface, the URL is,
https://domainname.com_or_IP:7080
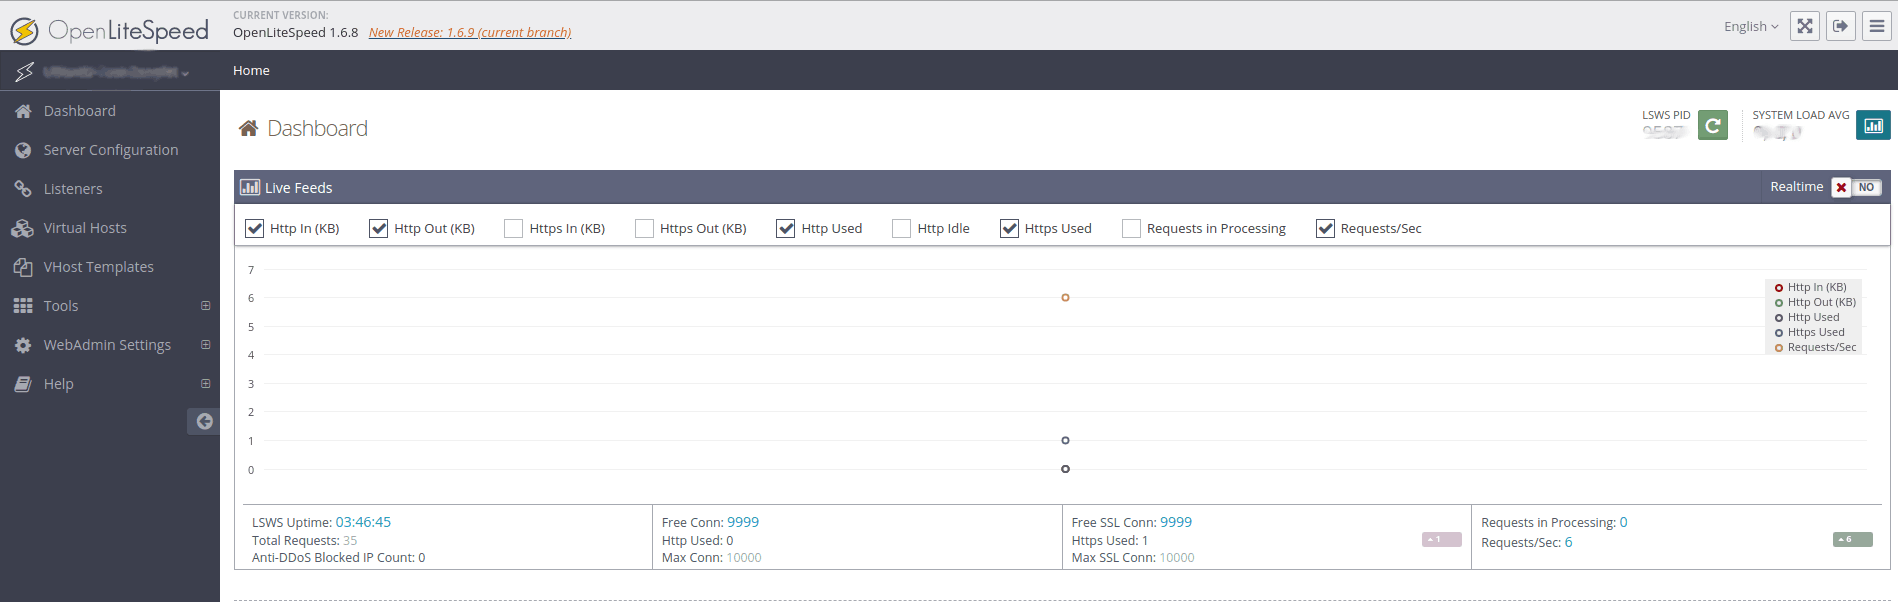
The admin interface allows us to manage the webserver via the graphical interface. The admin interface appears as,
[Still, having trouble in installing OpenLiteSpeed? – We can help you.]
Conclusion
So far, we saw how to install OpenLiteSpeed in Ubuntu 18.04. We also saw how our Support Engineers verify the installation.


0 Comments