Let us learn how to set up infrastructure with CI/CD pipeline using terraform. With the support of our Server Management support services, at Bobcares we can go through the whole set up process.
Pre-requisite for setting up infrastructure with CI/CD pipeline using terraform:
We will use Terraform to install our infrastructure (VPC and Subnet) but using a CI/CD strategy. Terraform will be integrated into a generic deployment process. In a nutshell, we’re asking Jenkins to do terraform-related tasks on behalf of people and provide automation.
So, we’ll create some code on our local PC and then submit it to the GitHub source repository. The Jenkins server (running in Google Cloud) will get this repository, do automation, and install the infrastructure in GCP.
Below given are the requirements for the process:
- A GCP account for a single project.
- Service Account having computer and network administration privileges. We may take ownership of it. Please bear in mind that we must attach this service account in order to permit the Jenkins machine to deploy resources programmatically.
How to install Jenkins?
Follow the steps given below to set Jenkins up. This site first major step in setting up the infrastructure with CI/CD pipeline using terraform:
- Firstly, As described before in the prerequisite, create a Virtual Machine in Google Cloud with a Service Account linked.
- We must ensure that port 8080 is allowed in the firewall rule.
- Connect to the system and install Jenkins when it has been installed.
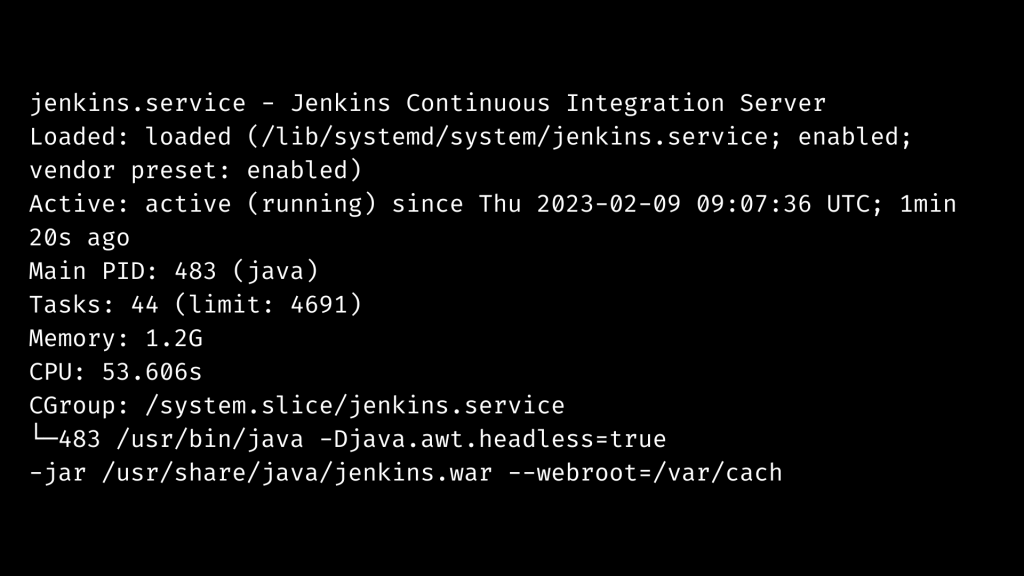
- Run the following scripts to install Jenkins:


- Jenkins has been installed and is ready for usage. Obtain the public IP address and enter it into any browser
: http://EXTERNAL IP:8080To access Jenkins, we must input the administrator password, which is available at the highlighted position in the above image. To get the pass, we must return to the Jenkins server and utilize the above-mentioned log path with the highlighted spot.
After running the preceding code, copy the pass that appears on the screen and paste it into the password box. Follow the steps, install the recommended plugins, and create the first admin user. We will be able to access the dashboard after logging in.
- Set up Terraform. Click here for more information.
- After that install Git
- Finally, install the gcloud CLI.
How to create CI/CD Pipeline with Groovy script:
Make sure to write Terraform Code and push it to the GitHub Repo befoe this step.
Now that we’ve checked our code into the source repository, we can create a pipeline that pulls this code from the repo, builds it, and deploys the infrastructure.
- Firstly, log in to Jenkins using the login and password we created. The home page will be shown.
- Install the Terraform and Git plugins. Navigate to Manage Jenkins Plugin ManagerAvailable Plugin and look for Terraform plugin, Git Plugins, and install it.
After that, navigate to Manage Jenkins Global Tool Configuration, where we will see the Terraform and Git plugin configurations. We must specify the name and default directory.
- Select Pipeline from the New Item drop-down menu. Enter the pipeline’s name and click Create.
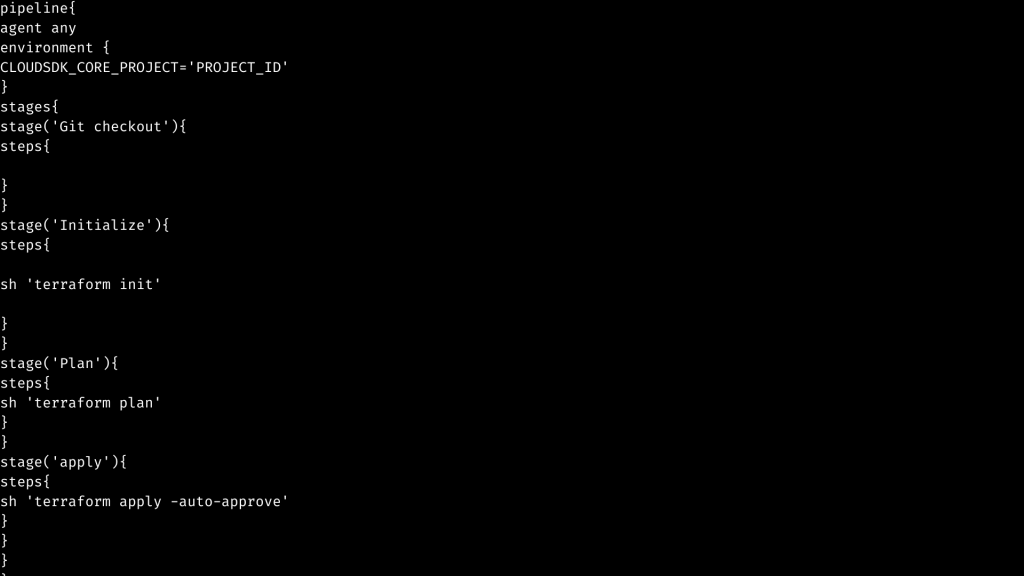
Go to the Advanced Project Option, choose Pipeline Script, and paste the groovy script below. This is a straightforward script with four stages (git checkout, terraform init, terraform plan, and terraform apply).
We just copy and paste this script as is, but we must replace the PROJECT ID> and GIT CREDENTIALS> before saving the pipeline.
To Generate GIT CREDENTIALS, Follow the steps below:
a: Under the Pipeline section, click on “Pipeline syntax” (ideally in a new tab).
b: Menu the “Sample Step” dropdown and pick “git:Git” on the “Snippet Generator” page.
c: Copy and paste the Git URL and other information. If we have generated a git credential in the Jenkins, we may add a credential. Now continue to the next step to set up infrastructure with CI/CD pipeline using terraform.
d: To generate a credential, navigate to Dashboard>Credential>System>Global credentials and click the “Add credentials” button.
e: Select “Generate Pipeline Script.”
f: We will eventually obtain a git checkout credential for the previously specified git repo.
g: Copy the code snippet and replace the GIT CREDENTIALS> in the Pipeline script.

- The pipeline is shown on the dashboard. now Let’s get started. Click the pipeline and then the “build now” button.
Now we can see, the pipeline was effectively constructed. This Pipeline Stage View plugin adds an expanded display of Pipeline build history to the index page of a flow project’s Stage View.
When we run some builds, the stage view will display with Checkout, Init, Plan, Apply, and one row per build, as described in our Groovy Script’s four stages. That is why it appears to us in four stages.
- Check the resources in Google Console. Here we can see that he infrastructure resources have been successfully deployed via the CI/CD pipeline, as we can see.
- To clean up/demolish the resources, we just need to modify the groovy script in the current pipeline. After that, apply, save, and then build it.
This is the final step in setting up infrastructure with CI/CD pipeline using terraform.
[Need assistance with similar queries? We are here to help]
Conclusion
To sum up we have now learned how to set up infrastructure with CI/CD pipeline using terraform. With the support of our Server management support services, we have gone through all of the steps to set this up.
PREVENT YOUR SERVER FROM CRASHING!
Never again lose customers to poor server speed! Let us help you.
Our server experts will monitor & maintain your server 24/7 so that it remains lightning fast and secure.


0 Comments