Learn how to use CageFS in CloudLinux with CyberPanel. Our CyberPanel Support team is here to help you with your questions and concerns.
How to Use CageFS in CloudLinux with CyberPanel
Did you know that CloudLinux is designed to boost the stability and security of our server?
It accomplishes this by optimizing processing capacity by dividing resource limits like CPU, RAM, and I/O resources between hosting accounts.
Two key components of CloudLinux are the Lightweight Virtualized Environment (LVE) and CageFS.
Furthermore, CageFS is a standout technology from CloudLinux. It creates virtual system partitions that prevent hosting accounts from seeing each other. This helps prevent hijacking and interference with data from other accounts on the same system.
How to Set Up CloudLinux
- First, we need to get a license to install CloudLinux. However, we can try it out by registering for a 30-day trial license before purchasing.
- Then, SSH into the VPS as the root user.
- Next, Run these commands:
wget https://repo.cloudlinux.com/cloudlinux/sources/cln/cldeploy

sh cldeploy -k

reboot
Alternatively, for IP-based licenses:
wget https://repo.cloudlinux.com/cloudlinux/sources/cln/cldeploy

sh cldeploy -i

reboot
These commands accomplish the following:
- Download the deployment script from the CloudLinux repository.
- Runs the script to convert the OS to CloudLinux.
- Reboot the VPS to complete the OS conversion.
- Then, verify the OS conversion as seen below:
cat /etc/redhat-release
How to Activate CloudLinux on CyberPanel
Now, it is time to activate CloudLinux on CyberPanel:
- First, log in to the CyberPanel Administration.
- Then, go to CloudLinux, create a package, and click “Activate Now”.
How to Install CageFS
- Once CloudLinux is activated, go to the LVE admin page to install CageFS by clicking “Access Now” or navigating to `http://IP:9000/` in the browser.
- Then, use the VPS root credentials to log in.
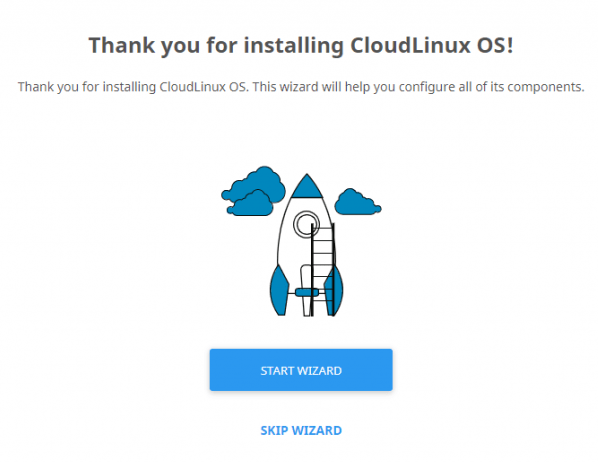
- After logging in, click “START WIZARD” to begin the installation process.

- Then, select the following two options and click “Finish And Install” to start the CageFS installation.
- Enabled by default for new customers account
- Enable for existing user accounts
The installation process will take about 20-30 minutes, based on the VPS.
After a successful installation, we will receive a confirmation message indicating that CageFS is ready.

[Need assistance with a different issue? Our team is available 24/7.]
Conclusion
In brief, our Support Experts demonstrated setting up CageFS in CloudLinux with CyberPanel.


0 Comments