


A complete guide to Restoring Azure DevOps Repositories to a Different App. Our DevOps Support team is ready to assist you.
Restoring Azure DevOps Repositories to a Different App
Restoring Azure DevOps repositories to a different app helps ensure business continuity during migrations or unexpected disruptions. This process allows teams to maintain version history, collaboration settings, and workflow integrity. Appropriate restoration is essential while testing deployment configurations or migrating to a new environment. This article will help you to learn the steps. keep on reading to know that.
Restoring Azure DevOps repositories is crucial in several scenarios, such as to ensure business continuity and prevent data loss. Accidental deletion, disaster recovery, migration and testing, human error, compliance and auditing, and ransomware and malicious attack.
For in-depth knowledge about Azure devOps service connection, read our expert article.
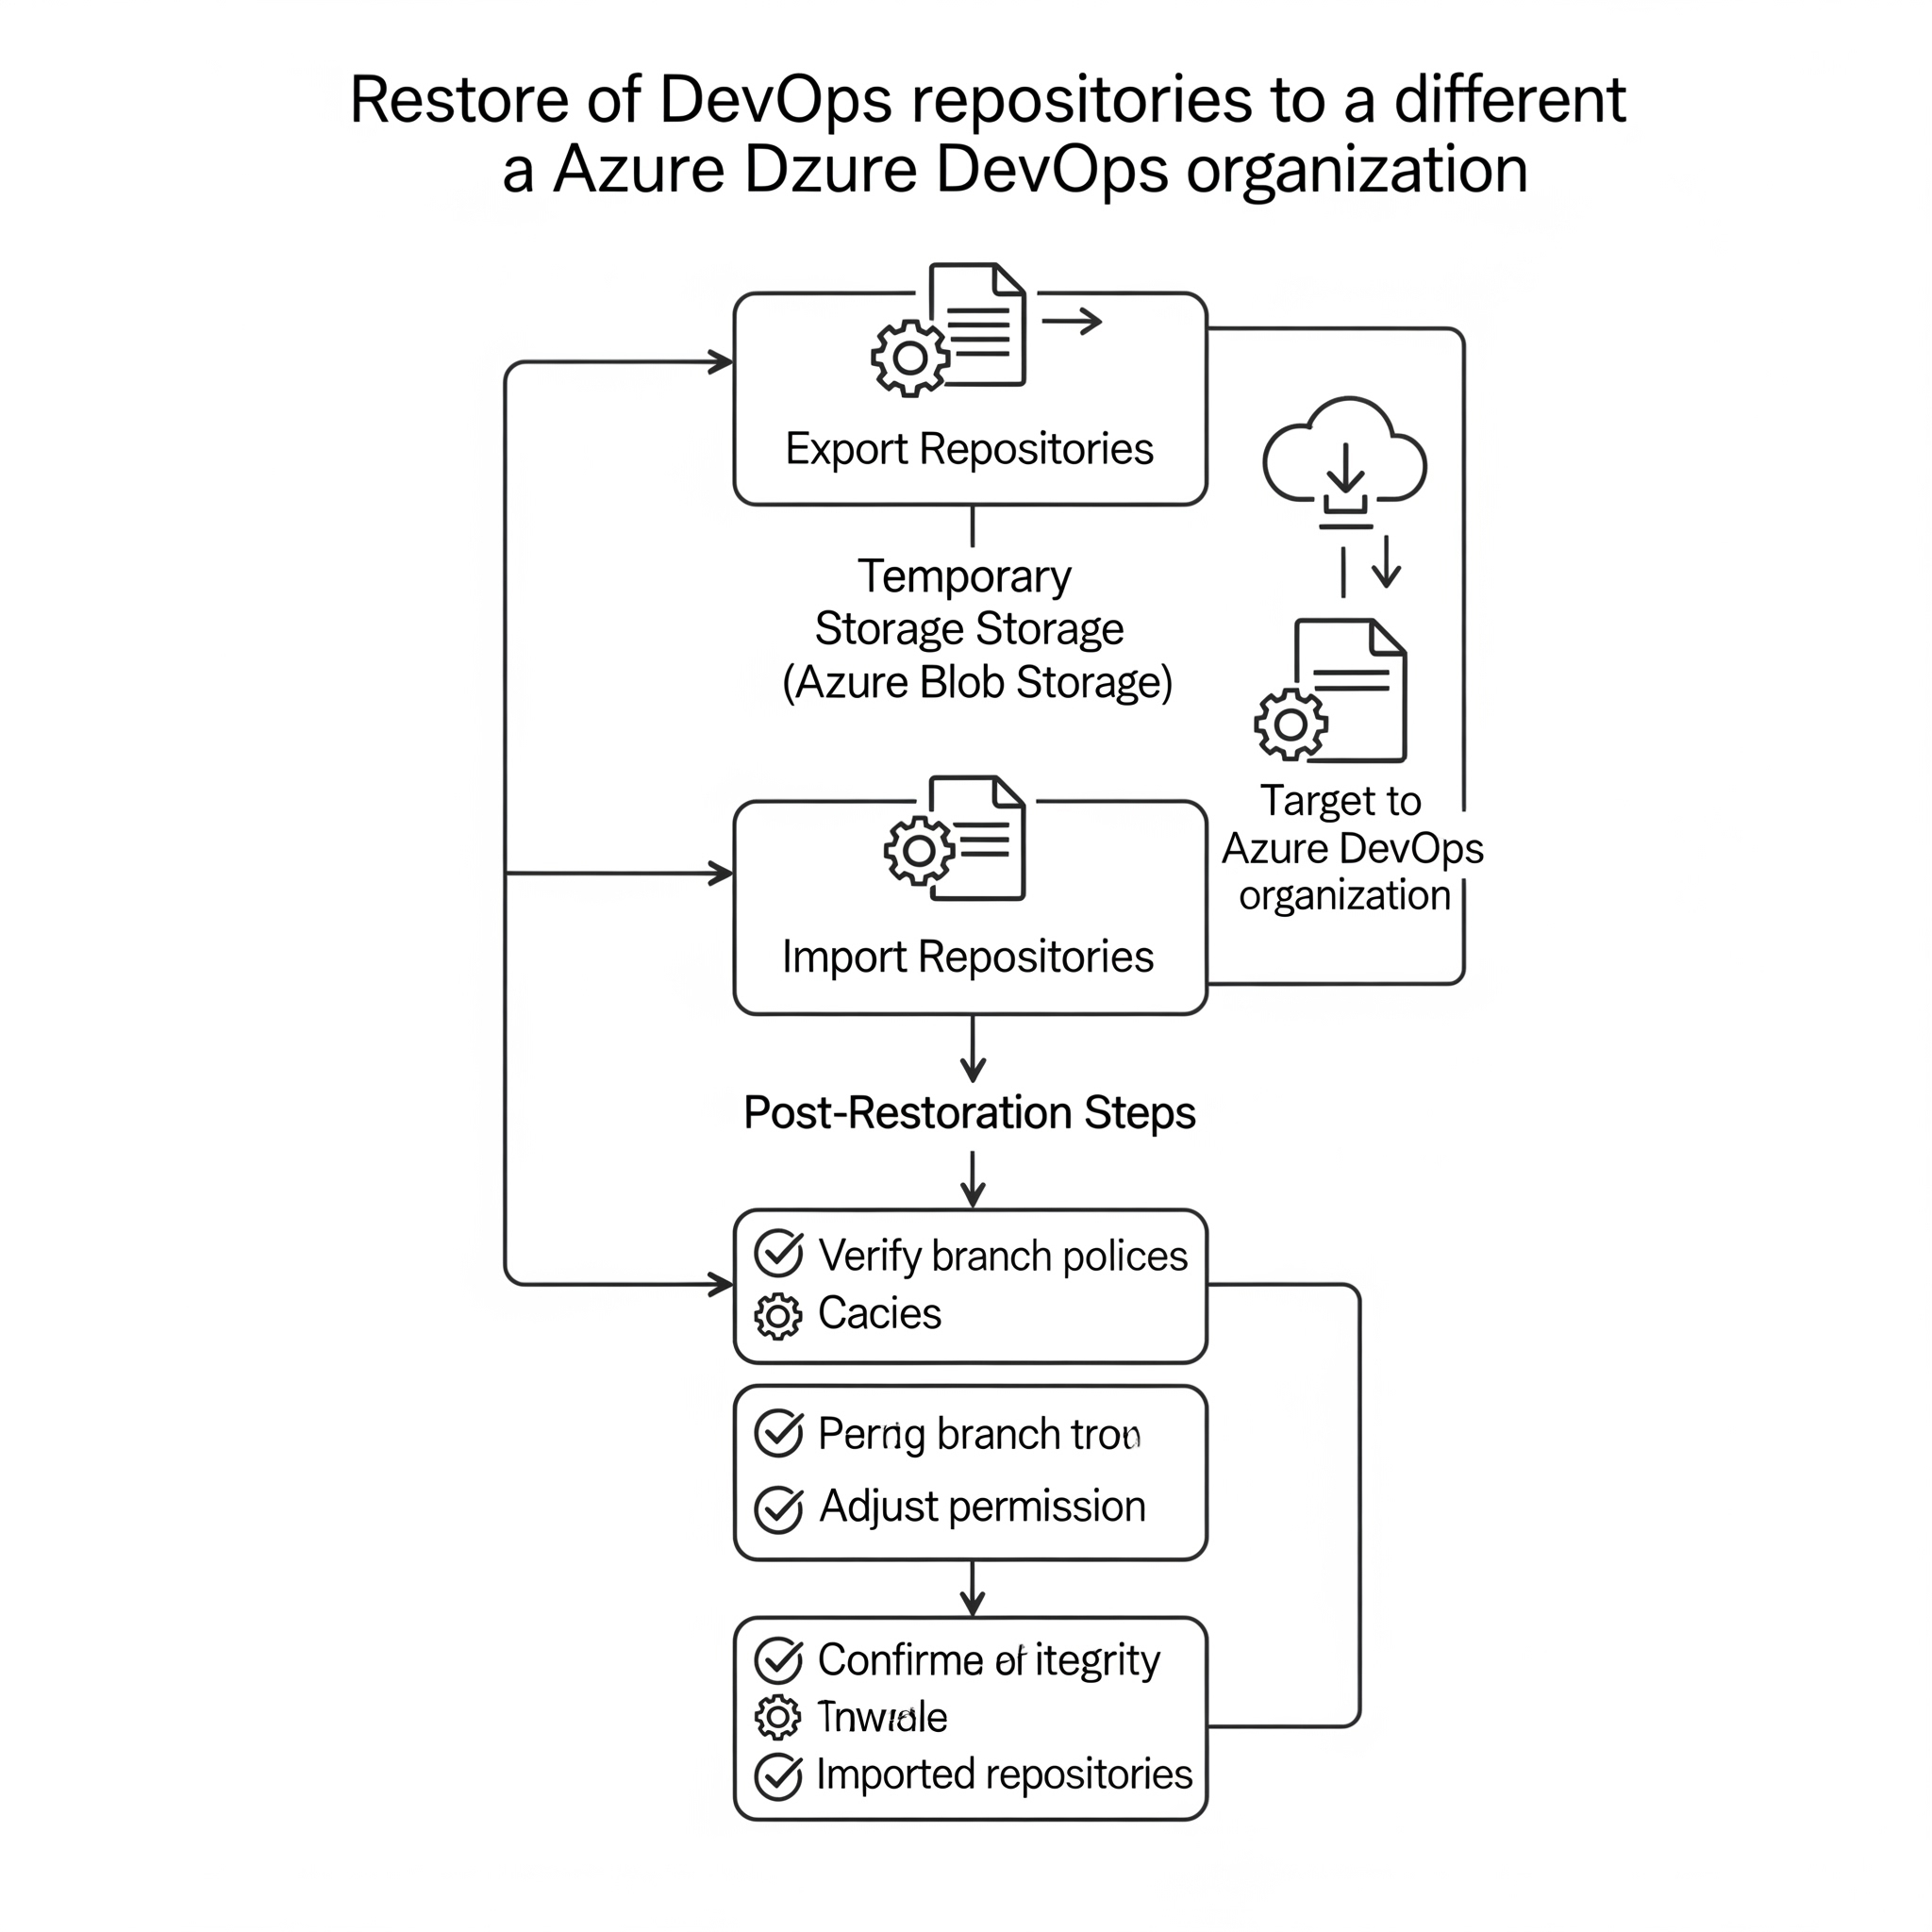
Key Considerations for Out-of-Place Restores
Out-of-place restore means restoring data to a different location other than the original one. There are some important considerations to be taken for out-of-place restores, and it is discussed below:
- The restore environment and backup environment should match. So any changes made in the backup environment should reflect in the restore environment.
- If you are using SAP HANA replication, it should be stopped right before initiating the restore.
- For encrypted databases, ensure both environments use matching encryption keys.
- Make sure the destination SAP HANA instance is the same or a later version than the source.
- If the source uses a secure user store key for authentication, create the same key, user, and password on the destination.
Procedure: Restoring Azure Repositories to a Different Azure DevOps App
- Restoring Azure Repositories to a different Azure DevOps app is also known as an out-of-place restore. Follow the steps for restoration.
- Navigate to the Protect and select DevOps.Step 2: Select a specific DevOps app on the ‘Azure DevOps’ tab.
- Find the group that holds the target repositories from the ‘Repository groups’ tab. Press the three dots action button in that row, followed by choosing ‘Restore’ to open the ‘Backup Content’ page.
- Navigate to the ‘Backup Content’ page, choose the organization or specific projects/repositories to restore. Later, press on the ‘Restore’ to open the ‘Restore Options’ dialog.
- Click on the ‘Out of Place’ tab found in ‘Restore Options’.
- Provide destination details.
- Select the target Azure DevOps app for the repository restore.
- Select the services to restore. Some services are selected by default; deselect them if you don’t need them.
- Enter the name of the destination organization.
- Provide the destination project name within the organization.
- Set the number of streams for the restore process.
7. After providing all the details, proceed by clicking on the ‘Submit’ button to start the restore process.
Discover a faster way to showcase Azure DevOps features in our step-by-step guide to the Demo Generator.
Restoring Azure Repositories to Disk
Note that Azure DevOps does not natively support direct ‘restore to disk’ functionality for repositories. Follow this step-by-step guide to restore processes.
- Access the backup interface to start the restore process.
- Identify the backup job or instance connected to your Azure DevOps organization and repositories.
- Initiate the restore operation by selecting the appropriate backup version of the repository.
- Choose the ‘Restore to Disk’ option as your destination type.
- Provide the full local path on the target server where the repository data should be restored. Make sure the path is accessible by the backup tool.
- Adjust the number of stream settings to optimize performance.
- Review and start the restore process to transfer the repository data that will be transferred to the chosen local disk path.
Procedure: Restoring Azure Repositories to a Different Hosting Service (e.g., GitHub)
Here are the quick steps to restoring Azure Repositories to a Different Hosting Service:
1. Clone the Repository
git clone <Azure_DevOps_Repo_Clone_URL>git fetch –all
2. Prepare GitHub
Create an empty GitHub repository and remove the old remote.
git remote remove originAdd GitHub remote
git remote add origin <GitHub_Repo_Clone_URL>3. Push to GitHub:
git push --all origin

git push --tags origin
4. Verify & update
Verifying all the GitHub content and updating CI/CD pipelines is required.
Explore our article What is Parallelism in Azure DevOps? to learn how it enhances CI/CD efficiency through simultaneous task execution.
[Need assistance with a different issue? Our team is available 24/7.]
Conclusion
Restoring Azure DevOps Repositories to a Different App ensures data protection, flexibility across environments, and business continuity. With the right approach and tools, it helps to perform a smooth restore.
In brief, our Support Experts demonstrated how to fix the “554 5.7.1 : Relay access denied” error.


0 Comments