


Wondering how to use WordPress One-Click Install on DigitalOcean?
At Bobcares, we do this as a part of our Server Management Services for clients using Ubuntu 20.04 Droplet.
Today let’s see how or Support Techs get this done easily for our customers.
Steps for WordPress One-Click Install on DigitalOcean
In this article, let us see how our Support Techs to set up a WordPress site using the WordPress One-Click Application on DigitalOcean.
We will do this set up on a regular Ubuntu 20.04 Droplet.
1. Creating A WordPress Droplet
To create a WordPress Droplet from the 1-Click App page, press the Create WordPress Droplet button:
Next, we need to choose an image. If not already set, we will switch from the Distributions tab to the Marketplace tab.
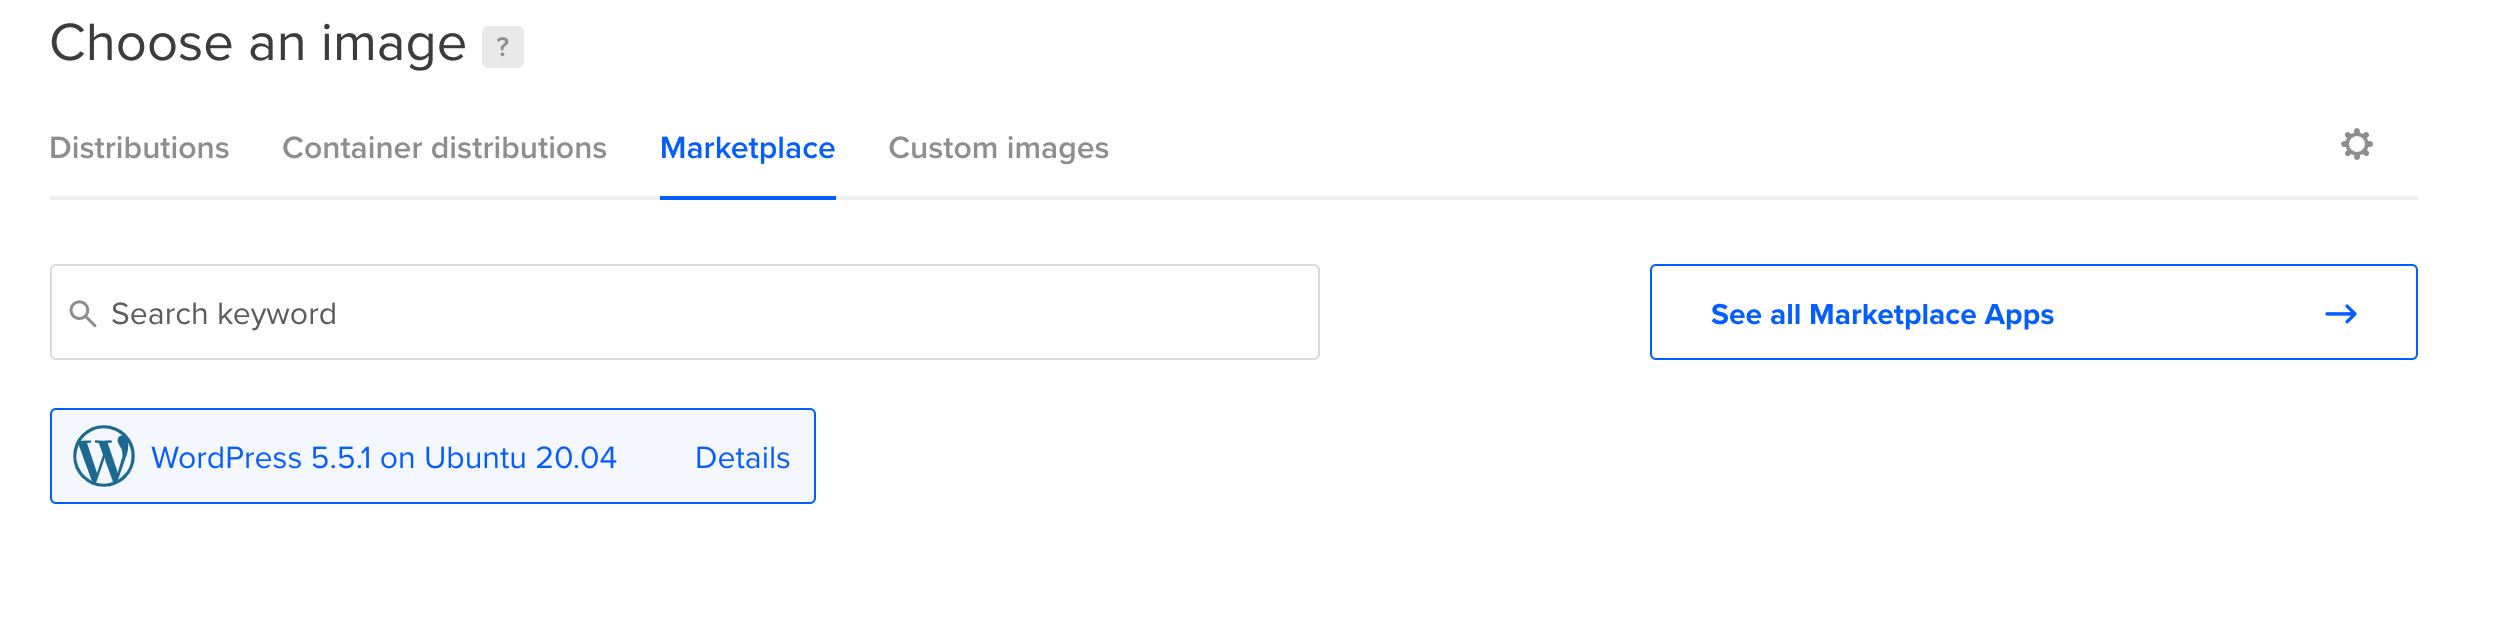
From there, WordPress 5.5.1 on Ubuntu 20.04 will be set automatically. If not, we can click “WordPress 5.5.1 on Ubuntu 20.04” to set it as the image.

Once the image is highlighted, we can accept the defaults or adjust settings according to the use case.
The following changes can be made:
1. Choose a plan:
2. Choose the size. We must keep in mind that WordPress One-Click Droplets require 1GB of RAM or more.
3. Add block storage.
4. Add this to our droplet based on our use case.
5.Choose a datacenter region.
6. Select additional options.
9. Choose a hostname. We can make it easier to identify the Droplet by naming it “WordPress,” as we are installing WordPress.
After making the necessary changes, click Create Droplet and we will get an address for the Droplet.
Click the address to copy it to the clipboard so that we can use this to view the WordPress site.
2. Checking the Placeholder Page
Open a web browser and paste the Droplet’s IP address to visit the new site. Until we log in with SSH, the following page will appear:
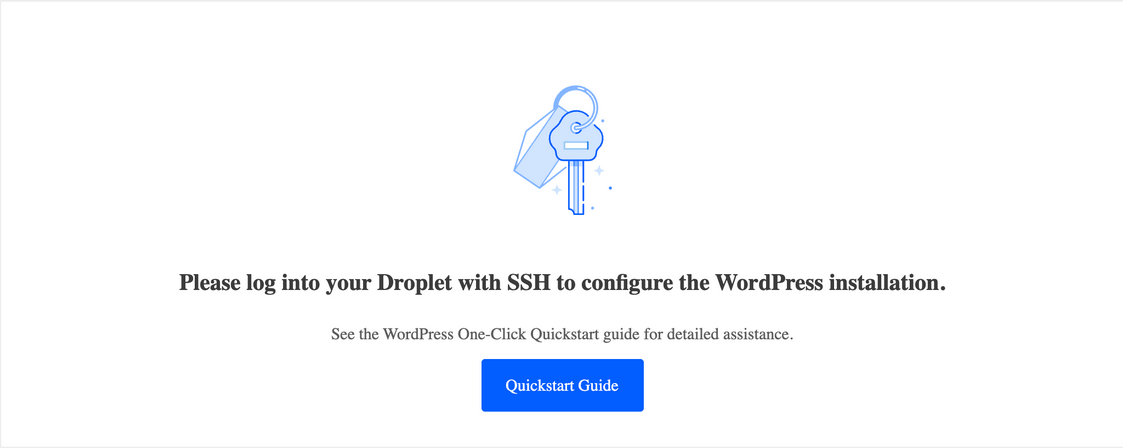
We can safely leave the installation in this state until we are ready to configure WordPress.
3. Accessing the Droplet via SSH to Enable Configuration
First, we need to connect to the Droplet via SSH to remove the placeholder web page.
After entering the Droplet via SSH we need to complete the WordPress configuration properly or else anyone who finds the site could create the administrative user and password for it.
$ ssh root@droplet.ip.address
Next, we can set an administrative password and configure WordPress.
We will be prompted to enter administrative details on the terminal after logging in via SSH. We can follow the terminal instructions to complete the WordPress setup.
[Need Assistance? We are happy to help you!]
4. Configuring WordPress
After completing the WordPress installation we can visit the Droplet’s IP address in a web browser. We will see the following page:

Select the language, provide the site a name, and configure its administrative user.
After completing the initial configuration, we can log in as the administrative user and continue to set up the site.
5. Configuring a Domain
To use a domain name instead of the IP address of Droplet, we need to set up a hostname with DigitalOcean or set up a domain name with the DNS provider.
Once it resolves using DNS, we can update the WordPress configuration to use the domain.
Then log in to the WordPress admin panel at http://DROPLETIPADDRESS/wp-admin using the admin login credentials.
And click on General under Settings. We will see several options for configuring the website.
After that update the WordPress Address (URL) and Site Address (URL) fields to reflect our new domain name and click Save Changes.
We can customize our site’s appearance, install plugins for added functionality, or create a new post or a page.
6. Locating Logins and Passwords
Additional details of installation are provided in the MOTD (Message of the Day) which is displayed when we log into Droplet via SSH:
-------------------------------------------------------------------------------
Welcome to DigitalOcean's One-Click WordPress Droplet.
To keep this Droplet secure, the UFW firewall is enabled.
All ports are BLOCKED except 22 (SSH), 80 (HTTP), and 443 (HTTPS).
-------------------------------------------------------------------------------------
To access MySQL database server, we can use the following command to find MySQL root user password from /root/.digitalocean_password file:
$ cat /root/.digitalocean_password
The Output will be shown as given below:
root_mysql_pass="c404aed5e912278adb4EXAMPLE9782f390286d706a9c4f72"
wordpress_mysql_pass="619863e454cEXAMPLE15be13d9730db5c0a52ad6a4d2491a"
After that copy the password from root_mysql_pass.
Next, run the following command with the -u flag to specify a user (root) and the -p flag to be prompted for the password as follows:
mysql -u root -p
We will be able to login using the password we got from the /root/.digitalocean_password file.
[Facing difficulty to set up? We are happy to help you!]
Conclusion
To conclude we saw how our Support Engineers get WordPress One-Click Install on DigitalOcean done for our customers using simple steps.


0 Comments