Bitnami Google Cloud Install is a simple procedure that consists of the following simple steps.
As part of our Google Cloud Platform Support service, Bobcares responds to all inquiries, big or small.
Let’s take a look at how our Support team install Bitnami with Google Cloud.
Bitnami Google Cloud Install
Bitnami provides ready-to-use application images for Google Cloud Platform servers, allowing us to start working with the new application right away. Using the GCP Marketplace, we can gain access to and launch these images.
We’ll set up a cloud server with the Bitnami WordPress Stack, which will provide us with a pre-configured WordPress blog that we can use right away. However, WordPress is only one example: there are hundreds of other Bitnami applications to choose from, all of which are equally simple to set up.
Step 1: Register for Google Cloud Platform.
We will have signed up for the Google Cloud Platform free trial at the end of this step. We can skip this step if we already have a Google Cloud Platform account.
- Firstly, go to https://cloud.google.com/ and create a Google Cloud Platform account.
- Then select the “Begin your free trial” option.
- Then, to log in and sign up for the free trial, we will need to use an existing Google account.
- Once we’ve signed in, give Google some personal information as well as the credit card information.
- The Google elves will disappear for a minute or so to verify the information, and we will be redirected to the Google Developers Console if everything is in order. It enables us to manage the billing account, start new projects, and get help. Our free trial should now be visible in the billing credits section.
- Finally, we should receive an account confirmation email indicating that the account is operational.
Step 2: Install WordPress on a Google Cloud Platform.
The WordPress blog will be running on a Google Cloud Platform server at the end of this step.
The next step is to set up a cloud server that will run WordPress. This is possible with just a few clicks on the Google Cloud Console. Take the following steps:
- Firstly, open the Google Cloud Console Launcher and log in.
- Then, enter the search term “bitnami wordpress” in the top search bar to find the Bitnami WordPress Stack.
- Then, in the list of search results, select the stack.
- Click “Launch on Compute Engine” on the resulting screen.
- Then, Use the Deployment name, Zone, Machine and disc type, Disk size in GB, and Firewall to configure the template.
- Finally, select Deploy to continue.
Step 3: Set up SSH access.
We’ll have configured the MongoDB server for use with an external SSH client at the end of this step. Using the server administration page, the user must manually add a public SSH key to the GCP Marketplace. The user@hostname comment at the end of the public SSH key is then used to determine which server user account should be associated with the key.
The steps below will walk us through setting up the MongoDB server to work with an external SSH client. It assumes we’ll be logging in as the bitnami account. Other users and server nodes can be added using the same procedure. Take the following steps:
- Firstly, create an SSH key pair to use.
- Then, go to the Google Cloud Console and choose the project.
- Select the WordPress instance we want to connect to from the Compute Engine -> VM Instances page. Take note of the instance’s public IP address.
- Then, in the top control bar, click the Edit link.
- Then, scroll to the bottom of the page, click +Add item, and paste the public SSH key into the SSH Keys field.
- Bitnami should be updated with the user@hostname comment at the end of the SSH key content. This will link the SSH key to the already-existing bitnami user account on the server. The Username next to the form field will change to reflect this.
- By clicking the Add Item button, we can add as many keys as we need.
- Finally, click the Save button to save the changes.
We should now be able to log in to the server as the bitnami user using any third-party SSH client and the corresponding private SSH key.
Step 4: Create an account and begin using WordPress.
We will have logged into WordPress and created a new blog post at the end of this step. Follow these steps to access the WordPress dashboard:
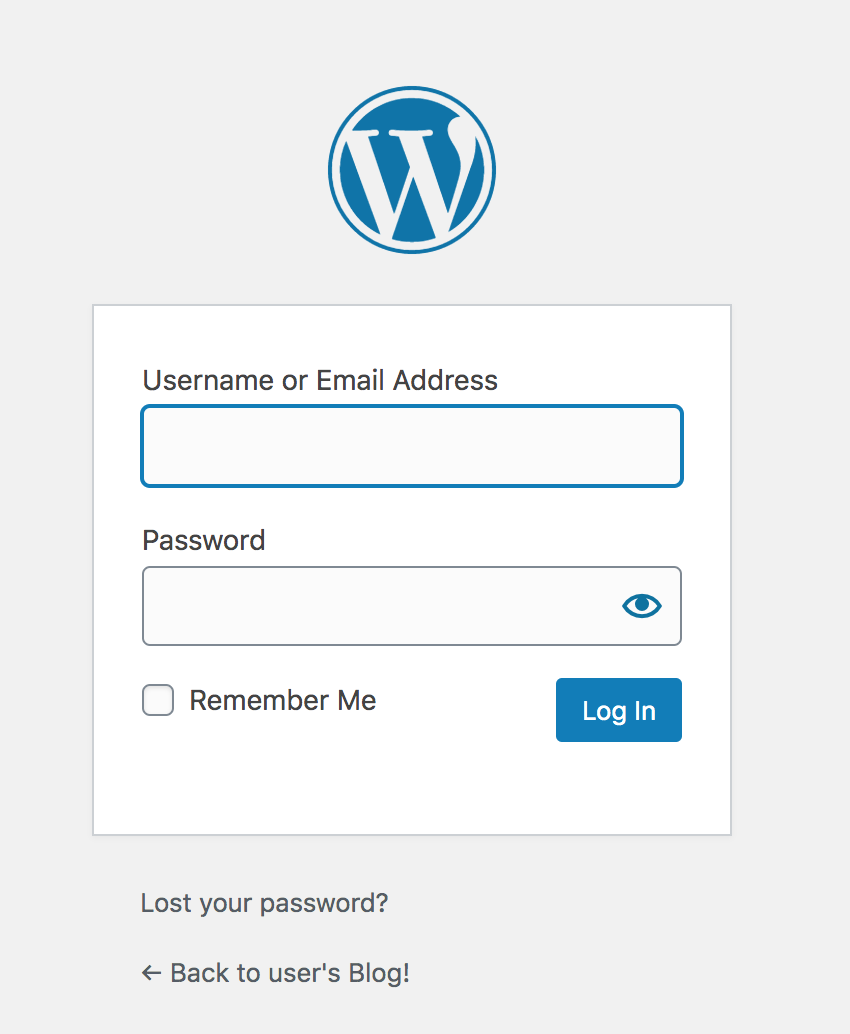
- Firstly, go to the WordPress dashboard, which is usually found at http://SERVER-IP/wp-admin.
- Then, use the administrator credentials from the previous step to log in.

- We should now be in the WordPress dashboard, where we can manage posts, pages, and comments, customize the blog with themes and plugins, import and export content, manage navigation menus, and create new user accounts, among other things.
Create the first post
We can now create a new post by following these steps:
- Firstly, to create a new post, go to the Posts -> Add New menu option.
- Then, give the post a title and some content. To format the post and add hyperlinks or images, we can use the formatting tools at the top of the content area.
- Optionally, select the post’s format and category.
- Finally, use the Publish button to publish it right away.
[Looking for a solution to another query? We are just a click away.]
Conclusion
To sum up, our Support team combined Bitnami and Google Cloud.
PREVENT YOUR SERVER FROM CRASHING!
Never again lose customers to poor server speed! Let us help you.
Our server experts will monitor & maintain your server 24/7 so that it remains lightning fast and secure.


0 Comments