Step-by-step guide to Install Redis on Mac With/without Homebrew easily and quickly. Our Redis Support team is ready to assist you.
Install Redis on Mac With/without Homebrew
The article includes the prerequisites for installing Redis on macOS, step-by-step methods using Homebrew and manual installation, instructions for starting, stopping, and configuring Redis, and guidance on safely uninstalling Redis from your system.
What is Redis?
Redis is an open-source memory-based data store that delivers fast data access for databases, caching, and messaging. It supports multiple data types such as strings, lists, sets, and hashes, making it versatile for different applications. Redis maintains reliability by saving data to disk, providing high availability with Redis Sentinel, and distributing data across nodes with Redis Cluster, ensuring both speed and scalability for real-time workloads. For users who need advanced monitoring and management, tools like RedisInsight allow you to connect easily to cloud instances, enabling redisinsight Connect to Azure Redis for seamless interaction with Azure-hosted databases.
Prerequisites
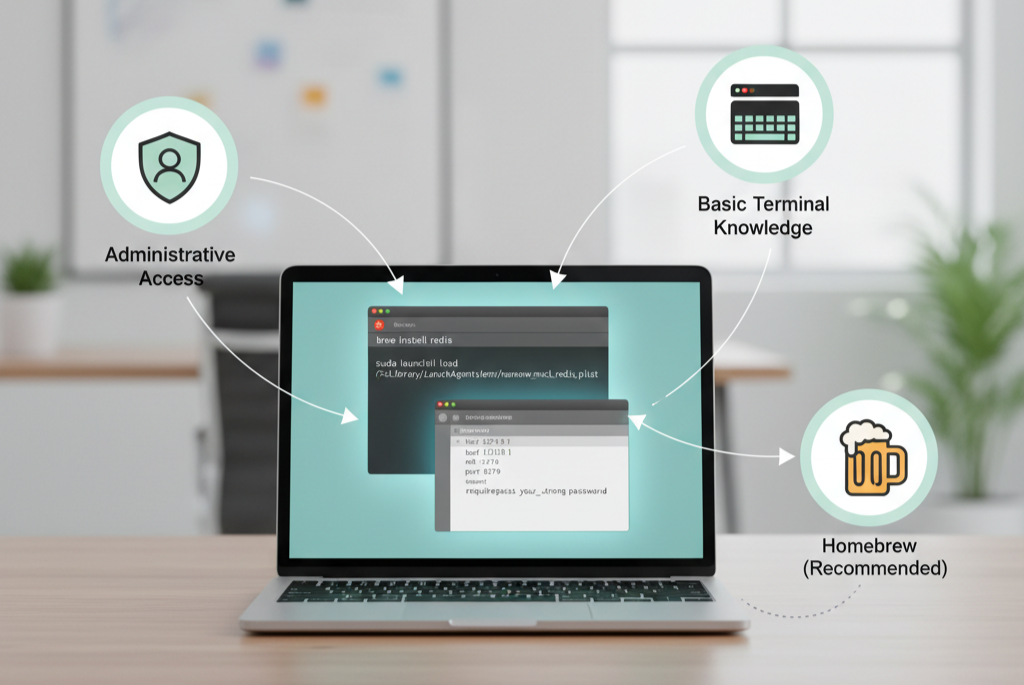
Before installing Redis on macOS, ensure your system meets a few key requirements. You need a macOS device with administrative access to install software and manage system services. Basic terminal knowledge is essential because installation and configuration require running commands, navigating directories, and editing configuration files. Having Homebrew installed is highly recommended as it simplifies installation, updates, and service management, although it is optional. Meeting these prerequisites ensures a smoother installation process and helps avoid common issues.

Step-by-Step Installation of Redis on macOS
Learn two ways to install Redis on macOS: the recommended Homebrew method for easy setup and a manual method from source for full control, ensuring Redis runs smoothly for development or testing.
Method 1: Using Homebrew (Recommended)
1: Install Homebrew (if not installed)
Open the Terminal and run:
/bin/bash -c "$(curl -fsSL https://raw.githubusercontent.com/Homebrew/install/HEAD/install.sh)"Follow the instructions on the screen to complete installation.
2: Update Homebrew
brew update3: Install Redis
brew install redis4: Start Redis as a Background Service
brew services start redis5: Verify Redis Installation
redis-cli pingYou should see PONG if the server is running.
Method 2: Manual Installation Without Homebrew
Step 1: Create a Directory for Redis
mkdir redis

cd redis
Step 2: Download Redis Source Code
curl -O http://download.redis.io/redis-stable.tar.gzStep 3: Extract the Archive
tar xzvf redis-stable.tar.gz

cd redis-stable
Step 4: Compile Redis
makeStep 5: Install Redis
sudo make installStep 6: Start the Redis Server
src/redis-serverStep 7: Test the Server
Open a new terminal window and run:
src/redis-cli

ping
You should receive PONG as a response.
Optional: Launch Redis at Startup (Homebrew Only)
To start Redis automatically when macOS boots:
ln -sfv /usr/local/opt/redis/*.plist ~/Library/LaunchAgents

launchctl load ~/Library/LaunchAgents/homebrew.mxcl.redis.plist
To stop Redis from launching at startup:
launchctl unload ~/Library/LaunchAgents/homebrew.mxcl.redis.plistThis step-by-step guide ensures Redis is properly installed, running, and ready for use on macOS.
Starting and Configuring Redis
To start Redis using Homebrew, run the command to launch it as a background service. This ensures Redis automatically starts when your Mac boots. If you prefer to run Redis without Homebrew, you can start it directly from the terminal in the foreground. To run it in the background, you need to enable daemon mode in the Redis configuration file.
Stopping Redis is simple. When using Homebrew, a single command stops the service. For manual installations, press Control and C if it is running in the foreground or use the shutdown command if it runs in the background. Restarting Redis with Homebrew requires just one command to stop and start the service again.
Redis configuration is managed through its main file, which is located in the system directory if installed with Homebrew or in the extracted folder for manual installations. You can open this file in a text editor to change the port, password, persistence options, and other settings. After saving your changes, restarting Redis applies the new configuration.
To confirm Redis is running, open a terminal and connect using the command-line interface. Sending a ping command should return a positive response, which indicates the server is active and ready to handle requests. If you plan to use cloud services, you can also configure an Azure Redis Connection, allowing your macOS Redis instance to securely interact with Azure-hosted Redis databases for remote caching and high-performance applications.
Uninstalling Redis on Mac
If you installed Redis with Homebrew, begin by stopping the service to ensure it is no longer running. Once the service is stopped, run the uninstall command to completely remove Redis from your system.
For manual installations, first stop the Redis server. If it is active in the terminal, press Control and C or terminate the process using system commands. Then remove any installed binaries from system directories and delete the configuration files. Finally, locate the Redis source folder where you compiled the software and delete it entirely. This ensures your system is fully cleared of Redis and ready for a fresh installation or other uses.
[Need assistance with a different issue? Our team is available 24/7.]
Conclusion
In conclusion, installing Redis on Mac with or without Homebrew ensures a fast, reliable server ready for use. Following the steps properly sets up Redis for development, testing, or production environments. With either method, you gain full control over configuration and can manage your server efficiently.
In brief, our Support Experts demonstrated how to fix the “554 5.7.1 : Relay access denied” error.


0 Comments