


Easily install pfSense on your PCs and virtual machines for secure networking. Our pfSense Support team is ready to assist you.
Install pfSense on Your PCs and Virtual Machines
Looking for a free yet powerful way to secure your network? pfSense is an open-source firewall and router that rivals expensive commercial solutions. With enterprise-grade features like VPN, IDS/IPS, and easy web-based management, pfSense is the ultimate tool to protect home, office, or enterprise networks.
What is pfSense?
pfSense is a powerful open-source firewall and router software built on the reliable FreeBSD operating system. With just a simple installation, you can turn a regular computer or virtual machine into a dedicated security device that rivals expensive commercial firewalls.
Unlike traditional solutions that demand high licensing costs, pfSense gives you enterprise-grade features for free. It provides firewall protection, routing, VPN services, and even extra tools like DHCP and DNS, all accessible through an easy-to-use web interface.
Why Choose pfSense?
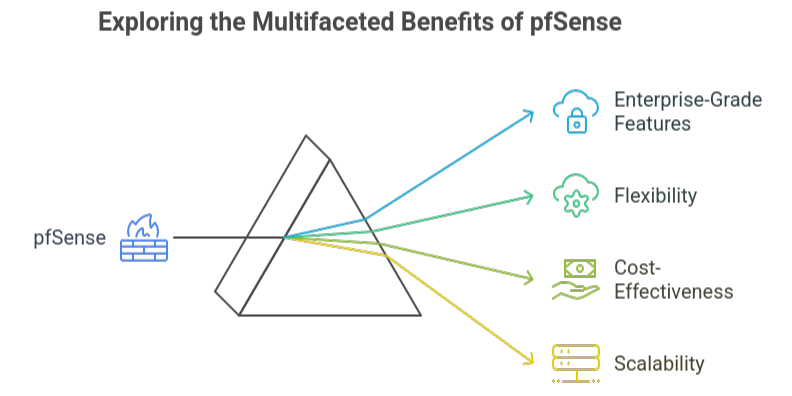
Choosing the right firewall is crucial for keeping your network safe, and pfSense makes that decision easy. It combines enterprise-grade features with the flexibility of open-source software, all without expensive licensing fees. Whether you’re running a home lab, small office, or large enterprise network, pfSense gives you the tools to manage and secure your environment with confidence.
System Requirements for pfSense
To install pfSense, you need the right hardware or a virtual environment.
- Hardware Installation: Runs smoothly on x86-architecture PCs.
- Virtualization Support: Compatible with platforms like VirtualBox, VMware, and Proxmox.
- Minimum Requirements: At least 1 GB RAM, 4 GB storage, and two network interfaces (one for WAN, one for LAN).
Boost your network security with our guide on pfSense and Fail2Ban.
How to Install pfSense on a Physical Machine
Installing pfSense on a physical machine turns your computer into a powerful firewall and router. Follow these simple steps to get started:
1: Download pfSense
Go to the pfSense website and download the latest pfSense CE ISO image (AMD64 for most users).
2: Create a Bootable USB
Use balenaEtcher to flash the ISO onto a USB drive. This will make the USB bootable.
3: Boot from USB
Insert the USB into your machine, enter the BIOS/Boot Menu, and select the USB drive to start the installer.
4: Install pfSense
Follow the prompts, select Install, and choose disk partitioning (Auto ZFS is common). The system will copy the files.
5: Finish Setup
Remove the USB, reboot, and pfSense will launch.
6: Initial Configuration
- Connect a PC to the LAN port.
- Visit https://192.168.1.1 in your browser.
- Log in with admin / pfsense.
- Complete the setup wizard to configure network settings.
Learn everything about pfSense license change and how it impacts your setup.
How to Install pfSense on VirtualBox
Running pfSense on VirtualBox is a simple way to set up a virtual firewall and router without extra hardware.
1: Download pfSense
Get the latest pfSense CE ISO (AMD64) from the official website.
2: Create a Virtual Machine
In VirtualBox, create a VM with:
- Type: BSD – FreeBSD (64-bit)
- RAM: 1-2 GB
- Disk: 10-16 GB (VDI, Dynamically Allocated)
3: Configure Network
Add two adapters:
- Adapter 1 – NAT/Bridged (WAN)
- Adapter 2 – Internal/Host-only (LAN)
4: Install pfSense
Mount the ISO, boot the VM, and follow the installer (choose Auto ZFS/UFS, Stripe, and virtual disk).
5: Initial Setup
Reboot, assign WAN and LAN, then access pfSense at http://192.168.1.1 using admin / pfsense. Complete the wizard.
pfSense Initial Configuration
Once you’ve installed pfSense on your hardware or virtual machine, it’s time to complete the initial setup. The process is quick and beginner-friendly, thanks to the built-in Setup Wizard.
1: Connect to the Web Interface
On a computer connected to the pfSense LAN, open a browser and enter:
http://192.168.1.1
2: Log In
Use the default credentials:
- Username: admin
- Password: pfsense
3: Launch the Setup Wizard
After logging in, the Setup Wizard will start automatically. It will guide you through basic network and firewall settings.
4: Configure Your Firewall
The wizard will help you:
- Set the hostname and domain
- Configure DNS servers
- Adjust time zone and NTP
- Set up WAN and LAN interfaces
- Update the admin password
Discover how to configure pfSense HAProxy firewall rules for secure and efficient traffic management.
Configuring Network Interfaces in pfSense
Now it’s time to assign IP addresses and set up DHCP.
Configuring:
LAN Interface
-
- Set the LAN IPv4 address to 10.0.1.1/24.
- Enable the DHCP server and assign an IP range (e.g., 10.0.1.100 – 10.0.1.243).
Monitoring Interface
- Assign IP: 10.0.2.1/24.
- Enable DHCP with range: 10.0.2.100 – 10.0.2.253.
AD Lab Interface
- Assign IP: 10.0.3.1/24.
- Do not enable DHCP since Active Directory will handle IP assignments.
Vulnerable Machines Interface
- Assign IP: 10.0.4.1/24.
- Enable DHCP with range: 10.0.4.100 – 10.0.4.253.
Final Setup and Accessing WebConfigurator
For the final setup of pfSense, restart the system after installation and connect a device to the LAN port. Open a browser and type the default LAN IP address, usually 192.168.1.1, to access the WebConfigurator. Log in with the default username admin and password pfsense. Once inside, the setup wizard will launch automatically, guiding you through basic settings such as hostname, DNS servers, and network interfaces. After completing the wizard, pfSense is fully ready, and you can begin managing your firewall and router from the WebConfigurator dashboard.
Learn how to disable IPv6 on pfSense with this simple step-by-step guide.
[Need assistance with a different issue? Our team is available 24/7.]
Conclusion
You can easily install pfSense on your PCs and virtual machines to build a powerful, cost-effective firewall and router. It’s the perfect solution for securing networks of any size.
In brief, our Support Experts demonstrated how to fix the “554 5.7.1 : Relay access denied” error.


0 Comments