


Easily install and configure KVM on Ubuntu 24.04 to run virtual machines. Our KVM Support team is ready to assist you.
Install and Configure KVM on Ubuntu 24.04
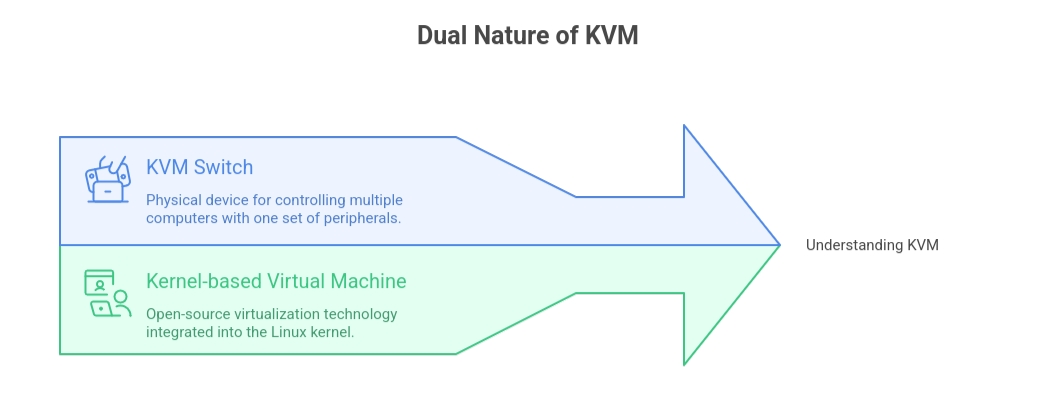
KVM can mean two things: a KVM switch, which lets you control multiple computers with one keyboard, monitor, and mouse, or Kernel-based Virtual Machine, a Linux feature that turns your system into a hypervisor for running virtual machines.
In this guide, we’ll focus on virtualization and show you the prerequisites, setup steps, and how to install KVM on Ubuntu 24.04 for running VMs efficiently.
What is KVM?
KVM can have two distinct meanings based on the situation. It could be a reference to a KVM switch, a physical device that enables you to operate several computers with a single keyboard, monitor, and mouse, or Kernel-based Virtual Machine, an open-source virtualization technology integrated into the Linux kernel.
What is KVM Used For?
KVM Switch
A KVM switch is a piece of hardware that enables you to utilize a single keyboard, monitor, and mouse to manage several computers. Because you can rapidly move between systems, it makes administering multiple systems easier. This is quite typical in data centers, server rooms, and offices where efficiency and space are important considerations.
KVM, or kernel-based virtual machine
The Linux kernel comes with an open source virtualization technique called Kernel Based Virtual Machine. It transforms a Linux system into a platform that can host and operate several virtual machines by acting as a hypervisor. This allows you to run different operating systems, such as Windows or Linux, on the same server, saving resources and providing developers and organizations with flexibility.
For a step-by-step guide, read our article on how to enable KVM in Ubuntu 22.04.
Prerequisites for Installing KVM on Ubuntu 24.04
- CPU: A 64-bit processor that supports AMD V or Intel VT x
- RAM: 4 GB is the minimum, but for optimal performance, 8 GB or more is advised.
- Storage: A minimum of 20 gigabytes of available disk space
- Network: A live internet link for downloads and updates
-
System and Software Requirements
- Ubuntu 24.04 is up and operating.
- sudo access to install and manage packages on your user account
- Dependable internet access to retrieve necessary tools and updates
See our article for installing Virtualizor KVM on Ubuntu 22.04 in 4 easy steps.
Enable Virtualization Support in VirtualBox
VirtualBox needs hardware virtualization support from your CPU. To run 64-bit virtual machines, you must enable Intel VT x or AMD V in your computer’s BIOS or UEFI settings.
1st Step: Check if Your CPU Supports Virtualization
Open a terminal or command prompt and run:
- For Intel CPUs
grep --color vmx /proc/cpuinfoFor AMD CPUs
grep --color svm /proc/cpuinfoIf the command shows vmx (Intel) or svm (AMD), your processor supports virtualization.
2nd step: Access BIOS or UEFI Settings
- Restart your computer.
- While booting, press the key for BIOS or UEFI (usually F2, F10, F12, or Del). The key varies by manufacturer.
3rd Step : Enable Virtualization
- In BIOS/UEFI, look for virtualization options.
- For Intel: Intel Virtualization Technology, VT x, or VT d
- For AMD: AMD V or SVM Mode
- Set the option to Enabled.
- Save changes and exit BIOS/UEFI.
4t Step : Launch VirtualBox
Once the system restarts, open Oracle VM VirtualBox Manager. You can now create and run 64-bit virtual machines without issues.
Steps to Install KVM on Ubuntu 24.04
KVM (Kernel-based Virtual Machine) lets you run virtual machines on Ubuntu with great performance. Here are 4 simple steps to install it on Ubuntu 24.04.
Step 1: Check CPU Virtualization Support
Run this command to confirm if your CPU supports virtualization:
egrep -c '(vmx|svm)' /proc/cpuinfoIf the output is 0, enable Intel VT or AMD V in your BIOS or UEFI settings.
lass=”yoast-text-mark” />>
Step 2: Install KVM and Required Tools
Update your system and install all KVM-related packages:
sudo apt update && sudo apt upgrade -y

sudo apt install qemu-kvm libvirt-daemon-system libvirt-daemon virtinst bridge-utils virt-manager -y
Step 3: Add User Permissions and Enable Service
Add your user to the required groups, then enable the libvirt service:
sudo usermod -aG libvirt $USER

sudo usermod -aG kvm $USER

sudo systemctl enable --now libvirtd
Reboot or log out and back in to apply the changes.
Step 4: Verify and Start KVM
Check if KVM is working:
lsmod | grep kvm

virsh list --all
(Optional) Launch the Virtual Machine Manager for a GUI:
virt-managerCheck out the guide on solving “KVM Error: No active connection to install on.” in Ubuntu.
[Need assistance with a different issue? Our team is available 24/7.]
Conclusion
KVM is a powerful virtualization solution that lets you run multiple operating systems on a single machine with excellent performance. By following the steps outlined, you can easily install and configure KVM on Ubuntu 24.04 to create and manage virtual machines efficiently. This setup not only saves resources but also provides flexibility for developers, testers, and IT professionals.
In brief, our Support Experts demonstrated how to fix the “554 5.7.1 : Relay access denied” error.


0 Comments