Configure Publication Manager on IIS for an Existing Tomcat with setup and integration. Our IIS Support team is ready to assist you.
Configure Publication Manager on IIS for an Existing Tomcat
For an existing Tomcat configuration, Publication Manager can be integrated with IIS to optimize system efficiency and streamline content delivery. Even while the procedure might seem complicated at first, it becomes simple when divided into manageable sections. From creating installation files and changing configurations to properly configuring permissions and connecting IIS, this article covers the entire setup process. This article will help ensure a seamless and effective deployment, regardless of whether you are handling this configuration for the first time or are improving an existing environment.
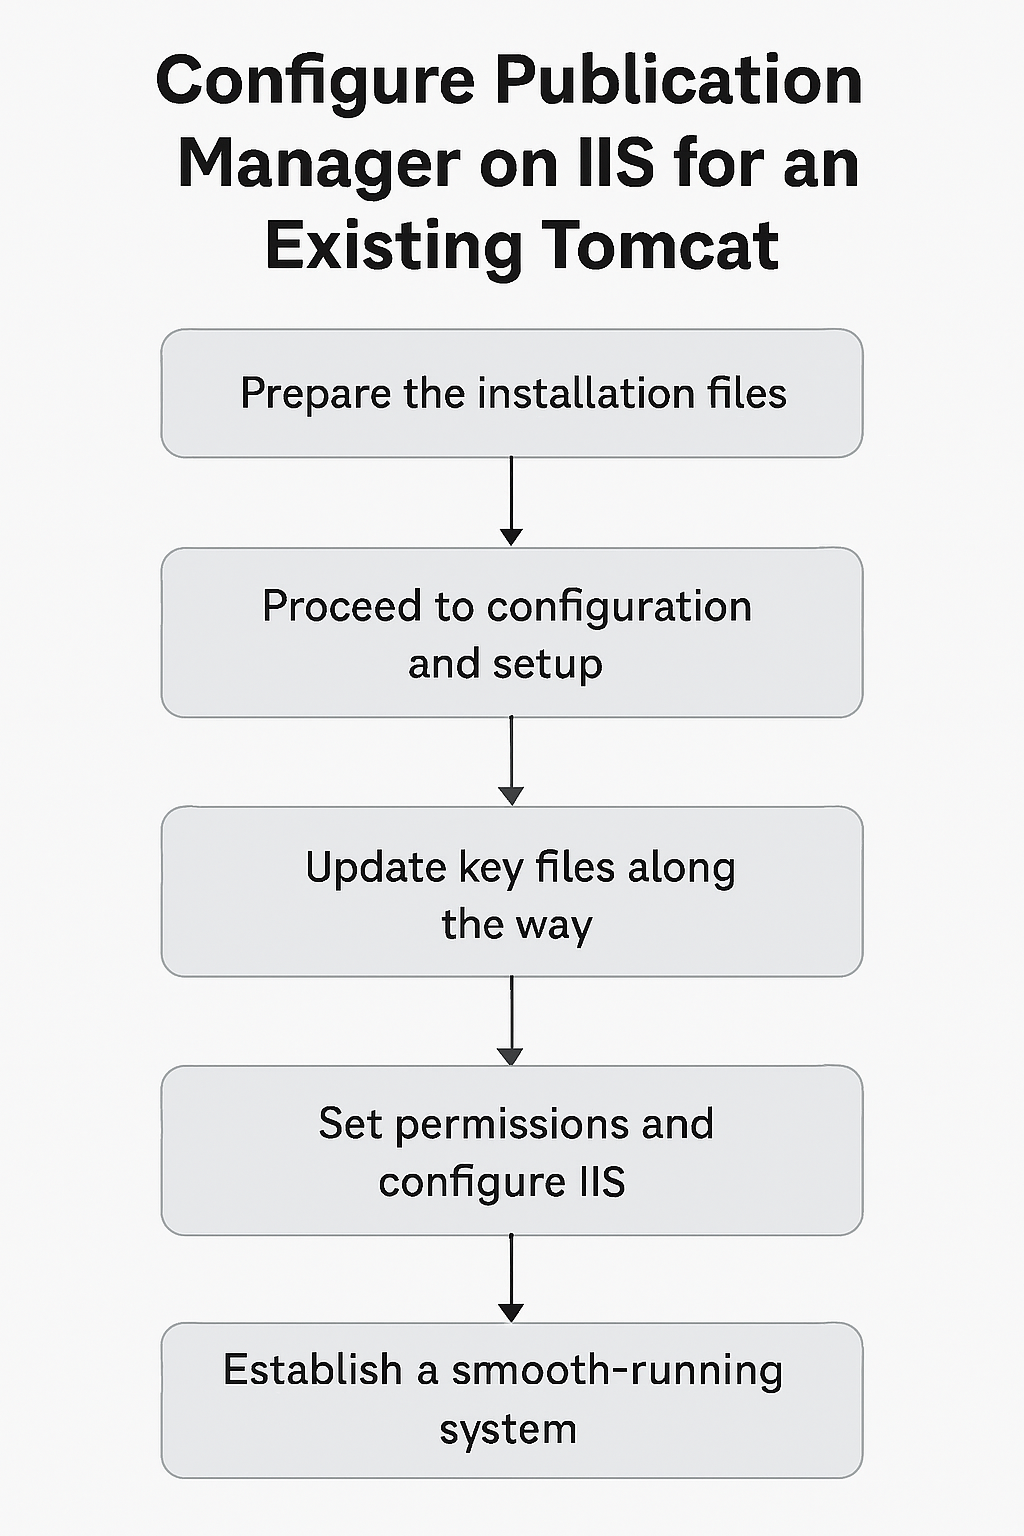
Setting up a Publication Manager might look lengthy, but it’s easy when you follow the steps in the right order. First, you prepare the installation files, then move on to configuration and setup. Along the way, you’ll update a few key files, set the right permissions, and configure IIS to get everything running smoothly. To establish, read the article.

Quick Steps to Install Publication Manager
-
- Get the Publication Manager Install.zip file, copy it to <drive>:\EWSoftware, and unzip it. You should now have the folder <drive>:\EWSoftware\EnableWeb.
- Open the <drive>:\EWSoftware\EnableWeb\Web.config file and update the necessary settings. Set the correct log path by editing the logpath value, and make sure to replace all instances of <Drive> with your actual drive letter. Then, go to the <connectionStrings> section and enter the correct database server name, EPIM database name, username, and the actual password provided by your system administrator.
- <install-folder>\IISproxy\isapi_redirect.properties and workers.properties should be opened. Then, all <Drive> placeholders should be changed to the drive letter itself. In the workers.properties file, additionally replace the server names for EPIM and EPX with the right hostnames.
- Copy both EnableWeb and IISproxy folders to <drive>:\Enterworks.
- Open the 3rd Party folder and run VC_2017_redist.x64.exe and VC_2017_redist.x86.exe as administrator. After that, install and set up IIS using port 81 if enable-web-server-service is already running on the server.
- Restart the World Wide Web Publishing service after creating the log folder at <drive>:\Enterworks\logs\enableWeb. Next, see if the login page shows up in your browser by opening http://<localhost>/enable. If needed, you can also set up SSO as an optional step.
Install IIS in 5 Simple Steps
- Launch Server Manager, then select Add roles and features to start the wizard.
- Select Role-based or feature-based installation, then click Next.
- Select the target server, then add the Web Server (IIS) role and enable key features such as Default Document, Static Content, HTTP Errors, HTTP Logging, Request Monitor, Tracing, Basic and Windows Authentication, .NET Extensibility, ASP.NET, ISAPI Extensions and Filters, along with the IIS Management Console.
- In the Features tab, check the box for .NET Framework 3.5 (which includes versions 2.0 and 3.0). Allow the server to restart automatically if required. If prompted for a source path, provide <drive>:\Windows\WinSxS—you may need to mount the Windows installation media.
- Click Install. Once it finishes, click Close to complete the setup.
Facing ERR_CONNECTION_RESET in IIS? Read this article for clear troubleshooting tips to help you quickly identify and resolve the issue
Set Up IIS
- Create a local or network user account named ewservice. On the server, open User Accounts, select Manage Another Account, then choose Add a user account and set a password.
- Assign the ewservice user Full Control permissions for the Enterworks folder on the specified drive. Additionally, make sure it has Modify access to the following directories:
C:\Windows\Microsoft.NET\Framework\v4.0.30319\Temporary ASP.NET FilesC:\Windows\Microsoft.NET\Framework64\v4.0.30319\Temporary ASP.NET Files
- Open IIS Manager, navigate to Default Web Site, then select Default Document, and ensure default.aspx is listed at the top. After that, go to ISAPI and CGI Restrictions and allow execution for the DLL located at drive:\Enterworks\IISProxy\isapi_redirect.dll with the description set to Jakarta. Then, under ISAPI Filters, add a new filter named Jakarta that points to the same DLL path.
- Open Handler Mappings, select ISAPI-dll, click Edit Feature Permissions, and enable the Read, Script, and Execute options.
Getting the “Cannot Verify Access to Path” error in IIS? Read this article to learn practical steps and fixes to resolve it effectively.
[Need assistance with a different issue? Our team is available 24/7.]
Conclusion
Configure Publication Manager on IIS for an existing Tomcat might seem detailed, but once you go step-by-step, it’s actually quite manageable. You start by preparing the install files, then work your way through the key configurations and permission settings. Along the way, you update some important files, tweak IIS settings, and make sure everything is in place to run smoothly. Once you’ve followed the full process, you’ll have a stable, well-integrated setup ready to go.
In brief, our Support Experts demonstrated how to fix the “554 5.7.1 : Relay access denied” error.


0 Comments