


Looking for steps to install NSClient++ on windows?
NSClient++ is one of the best agents that is used to monitor Windows devices.
At Bobcares, we often get requests from our customers to install NSClient++ as part of our Server Management Services.
Today, let’s get into the details on how our Support Engineers help the customers to install this.
What does NSClient++ do?
NSClient++ is a powerful and flexible monitoring daemon.
Basically, the NSClient++ finds applications in areas like:
1. Allow remote checks: Allows the Nagios server to request commands to be run on the machine to be monitored. The monitored machine then returns the status of the machine.
2. Monitor system: It monitors in realtime and submits the findings and results to the Nagios server.
3. Problem resolver: NSClient++ take action either on its own monitoring or remotely from a central server. It also takes action on the problem and fixes the error.
How we install nsclient++ on Windows?
At Bobcares, where we have more than a decade of expertise in managing servers, many customers may need assistance in installing NSClient++.
Now, let’s see how our Support Engineers assist the customer to install nsclient++ on Windows.
1. Initially, we log on to the Windows machine for installing the nsclient++.
2. We download the stable version of NSClient++ from https://nsclient.org/download/
3. Then run the NSClient++ installer package to start the installation.
4. We clicked Next to continue to the next step on the welcome screen.
5. Here, in the new popup, we select Generic and click Next to continue.
6. On the next page, we select the Typical button.

We then move to the configuration page.
How we configure NSclient++ on Windows?
1. The next page asks for the configuration file path.
We select the default path and then tick the box to install the sample configuration file.
After that, we untick the option ‘allowing all users to write access’ box.
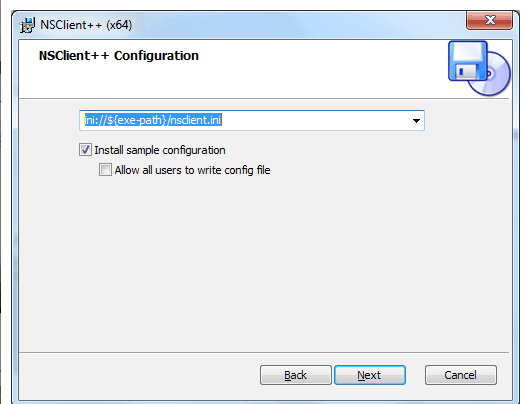
Then we proceed by clicking Next.
2. Thereafter, a new page appears for configuring the NSClient++ agent.

Then, we enter the following details on the configuration page.
- In the first column(Allowed hosts box), enter the IP address of the Nagios server.
- Enter a secure password in the NSClient password box. This helps for communication between the Nagios server and the Windows machine.
- Thereafter, Enable common check plugins = Checked
Enable NSClient server (check_nt) = Checked
- We then click Next to continue
3. Click the Install button on the next screen to begin the installation.
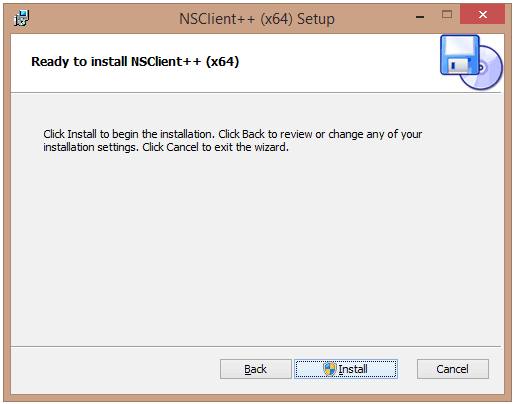
After completing the installation, we click Finish to complete the setup.
The NSClient++ agent is running as a service and now the Windows machine is ready to be monitored with Nagios.
4. It’s now time to configure check_nt on the Nagios server. For this, we open the commands.cfg file for editing.
vi /usr/local/nagios/etc/objects/commands.cfg
We add the Password of NSClient++ in the check_nt command as follows.

Then save the file.
5. Finally, restart the Nagios Service by running the command follows.
service Nagios restart
We have now successfully installed and configured the nsclient++ on windows.
[Need more help to ‘Install nsclient++ on windows’?– Our Experts are available 24/7.]
Conclusion
In short, NSClient++ is a powerful agent that helps to monitor Windows devices. Today, we saw how our Support Engineers help our customers to install nsclient++ on their Windows servers.


0 Comments