Want to add Windows host to Nagios? We can help you with it.
Unlike, Unix machines, adding Windows server monitoring is different. To add windows host, we need to install a plugin in the Windows server.
Here at Bobcares, we often receive requests regarding Nagios as a part of our Server Management Services.
Today, let’s see how our Support Engineers help our customers to add a Windows host.
More about Nagios Windows host
Nagios is an open-source software used for monitoring. It supports both Linux and Windows server monitoring.
To add a Windows host to a Nagios Server, we require NSClient++ plugin.
The plugin acts as an intermediate between Nagios and Windows server.
Thus, to add Windows host we install NSClient++ plugin in the Windows first and then make changes in the Nagios configuration file.
How to add Windows host in Nagios?
Recently one of our customers contacted us to add Windows host in his Nagios server. Let’s discuss how our Support Engineers help our customers to achieve it.
This requires changes both at the Windows server side and at the Nagios server. We’ll now see it in detail.
Changes in Windows server
First, we login to the Windows server as an administrator.
Then we download and install the NSclient package based on the architecture.
Once we download the file, we double-click on the .msi file, to begin with, the installation and click on run.
A Welcome screen appears then we click on Next. Now we check I accept the terms in the License Agreement.
Then we choose Setup type as Typical and click on Next. In the next window, we leave the default settings and click Next.
Then we enter the Nagios Server IP in Allowed hosts and check all the modules and click Next.

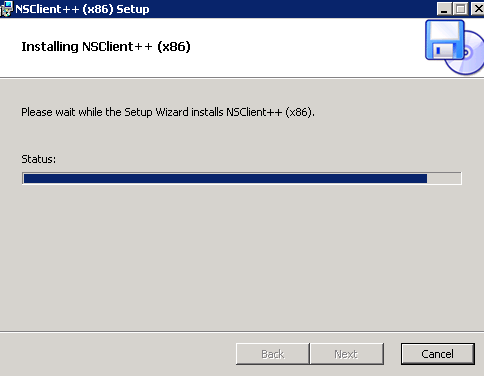
Next, we click on the Install option to complete the process. Once the installation is complete, we click on Finish.
Then we need to start the NSClient. From the start menu, click on Start NSClient++ option to start it.
In Nagios server
Now we need to make the changes in the Nagios server. For that, we login to the server where Nagios is installed.
We edit the file windows.cfg using the command.
vi /usr/local/nagios/etc/objects/windows.cfg
In the configuration file, we enter the details of the Windows server. In host_name, we enter the hostname of the Windows server. Then in the address, we specify the IP address of the Windows server. Once we add the details we save the file.
Next, we open the Nagios configuration file using the command
vi /usr/local/nagios/etc/nagios.cfg
We uncomment the below changes and save the changes.
cfg_file=/usr/local/nagios/etc/objects/windows.cfg
Now we browse the Nagios GUI. Here, we can see that the Windows host is present on the dashboard.
[Need any further assistance with Nagios? – We can help you with it]
Conclusion
In short, we have discussed Nagios. Also, we have discussed how our Support Engineers add Windows host in the Nagios server.


0 Comments