


While expanding a cluster you might always felt a need to add Ceph OSD in Proxmox.
We help you to do this via both Proxmox VE GUI and command-line interface.
At Bobcares, we often get requests to manage Proxmox Ceph, as a part of our Infrastructure Management Services.
Today, let’s see how our Support Engineers add Ceph OSD in Proxmox.
Role of Ceph OSD in Proxmox
Managing separate SAN, NAS can make things complicated. To ease out such efforts Proxmox can be integrated with Ceph storage.
This unifies the compute and storage system. And this makes it easier to run and manage the Ceph storage directly via the hypervisor nodes.
And it is quite easier to set up and manage via both CLI and GUI.
How to add Ceph OSD in Proxmox?
As we have said it is possible to add a Ceph OSD in Proxmox via both GUI and CLI. Now let’s see how our Support Engineers do this.
Adding Ceph OSD via GUI
Let’s see how we do the same via the GUI.
After installation of Ceph, we login to Proxmox GUI.
Here we select the required Proxmox node and click on the tab Ceph from the side panel. And this window appears as,
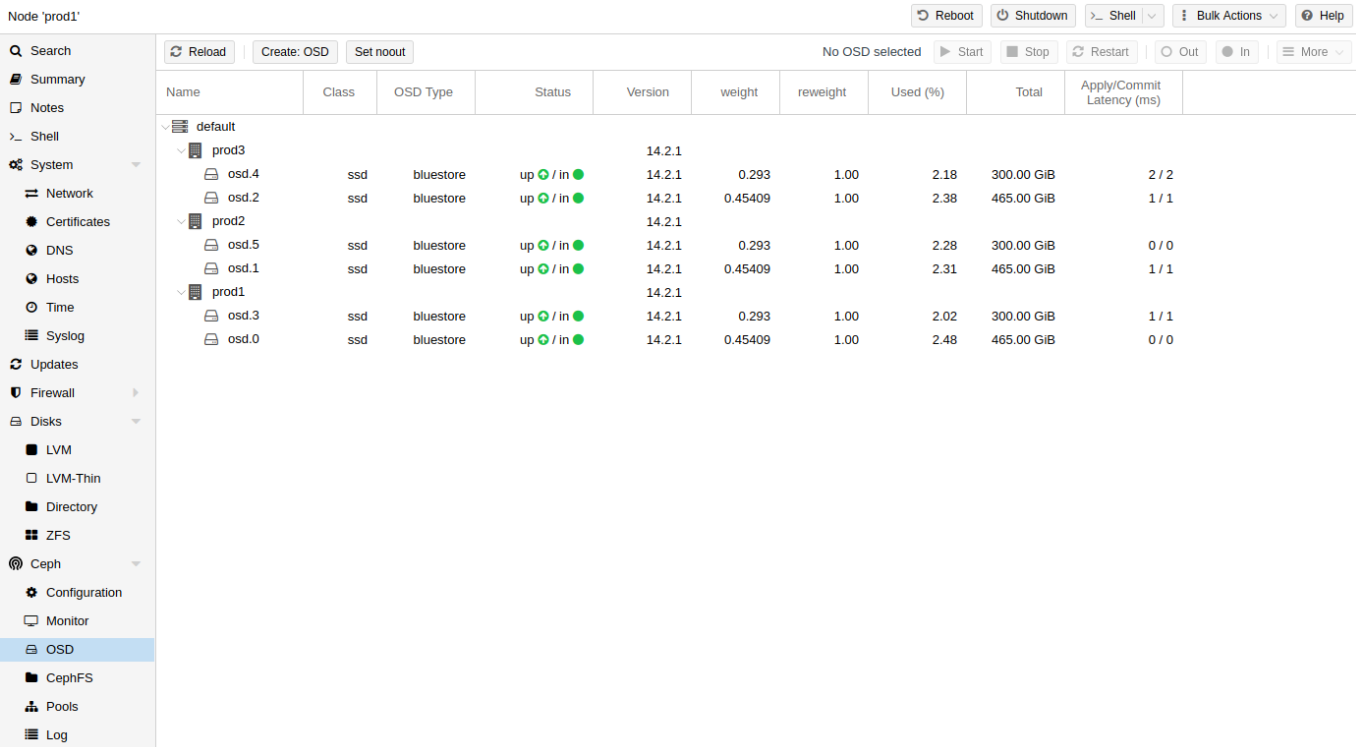
Then we add the disk to the Ceph cluster. This disk then acts as the storage pool for Ceph.
Next, we click on the required disk and select the option Create: OSD. If the disk has some partitions then we will not be able to add this as OSD. Then we remove such partitions to use this disk.
Now to create a storage pool, we click the Pool tab and create it. The next window will ask details on disk parameters. We add it correctly.
So, this is how we add Ceph OSD via Proxmox GUI.
Adding via command-line interface
Similarly, we can add Ceph OSD via the command-line interface. Here is how our Support Engineers do it.
For manually adding the OSD, we first create it. We do this using the command,
ceph osd create [{uuid} [{id}]]
Then we create a directory for it. For this, we ssh into the host and make a directory,
mkdir /var/lib/ceph/osd/ceph-{osd-number}
To initialize this directory we use the command,
ceph-osd -i {osd-num} --mkfs --mkkey
Next, we need to register the OSD auth key. For this, we run the command,
ceph auth add osd.{osd-num} osd 'allow *' mon 'allow rwx' -i /var/lib/ceph/osd/ceph-{osd-num}/keyring
Then we add the OSD in the CRUSH map. And the command to do this is,
ceph osd crush add {id} {name} {weight} [{bucket-type}={bucket-name} ...]
Finally, we verify the task of adding OSD by starting it. For the Ubuntu system, we do this as follows,
start ceph-osd id={osd-num}
Later we observe the data migration to the newly added OSD.
[Having trouble in adding Ceph OSD in Proxmox? – We can help you.]
Conclusion
So far, we saw the steps to add a Ceph OSD in Proxmox via both the GUI and CLI. In addition, we always take proper care to successfully add it by either of the ways. Today, we saw how our Support Engineers do this without fail.


0 Comments