Let’s see how to setup WordPress MultiSite on CyberPanel in this article. At Bobcares, with our WordPress Support Services, we can handle WordPress MultiSite issues.
How To Setup WordPress MultiSite On CyberPanel?
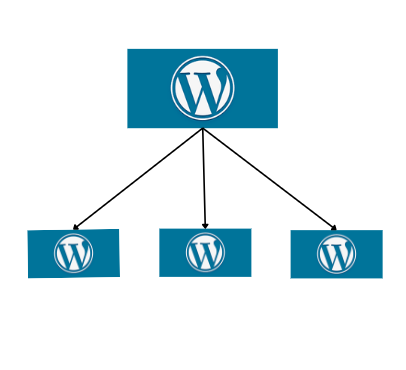
WordPress Multisite helps us manage several WordPress websites from a single dashboard. We can use the same username and password to manage new sites that we instantly create. On our website, we can even let other users register and set up their own blogs.

We can use the advanced settings included in the WordPress multisite network to individually customize each website and blog on the network. Here, we will see the steps to setup WordPress Multisite on CyberPanel.
Setup WordPress MultiSite On CyberPanel
1. Add wild-card DNS record in Cloudflare
(1.1) In order to add a wild card DNS record in Cloudflare, navigate to Cloudflare first and choose the domain.
(1.2) Then click on DNS from the left-hand side menu.
(1.3) Enter A record with (*) in the namespace. Now our first step is over.
2. Deploy WordPress Multisite
We have to deploy WordPress Multisite now. After using CyberPanel to deploy a standard WordPress site, we can then create child domains that point to the main site’s document root and add them to the WordPress network.
(2.1) Firstly, access the CyberPanel dashboard.
(2.2) From the left-hand menu, select WordPress >> Deploy WordPress.
(2.3) Provide the needed details.
(2.4) Then click on “Create Website.”
3. Configure WordPress Multisite
(3.1) Go to the WordPress dashboard and deactivate each plugin that is currently active.
(3.2) Disable the “LiteSpeed Cache” plugin, which is the only active plugin on the default installation of CyberPanel.
4. Configure wp-config.php to allow WordPress Multisite
(4.1) Firstly, go to the CyberPanel dashboard.
(4.2) From the left-side menu, select Websites >> List Websites.
(4.3) Click on the site’s File Manager.
(4.4) Open public_html and type the following code in wp_config.php:
define('WP_ALLOW_MULTISITE',true);
(4.5) Finally, click save.
5. Configure Multisite inside WordPress
(5.1) Access the WordPress dashboard.
(5.2) Select Tools >> Network setup from the left-hand side menu.
(5.3) Choose the necessary options, then save. Subdomains or subdirectories can be chosen.
6. Configuration
(6.1) Two pieces of code will be provided after installation. Copy the code and paste it into wp-config.php and.htaccess, respectively, from the CyberPanel File Manager.
7. Create new sites on the network
(7.1) Login to the WP dashboard again.
(7.2) Navigate to the WP dashboard.
(7.3) Select “my sites” in the top menu. select “network admin” and then “dashboard”.
(7.4) From the menu on the left, select Sites > Add New.
(7.5) Put in the needed details.
8. Create Child domains
(8.1) Firstly, go to the CyberPanel dashboard.
(8.2) Click on WordPress >> List WordPress from the left-hand side menu.
(8.3) Click on the WP site.
(8.4) Click on Manage.
(8.5) Click on Add Domain.
(8.6) Enter the required info.
(8.7) Finally, click on Create.
[Looking for a solution to another query? We are just a click away.]
Conclusion
To summarize, we have provided the steps from our Support team to setup WordPress MultiSite on CyberPanel efficiently.
PREVENT YOUR SERVER FROM CRASHING!
Never again lose customers to poor server speed! Let us help you.
Our server experts will monitor & maintain your server 24/7 so that it remains lightning fast and secure.


How to configure domain mapping?
Hi Jayal,
Please contact our support team via live chat(click on the icon at right-bottom).
Hi. Is it possible to assign a top-level domain to a subdomain, so instead of the subdomain, the top-level domain shows?
Thanks
HI,
Please contact our support team through live chat (click on the icon at right-bottom).