


Easily restore your website by restoring a full backup or cpmove file in cPanel. Our cPanel Support team is ready to assist you.
Restoring a Full Backup or cpmove File
Having the correct backup makes it simple and quick to restore your cPanel account. For a complete website, use a.tar.gz file; for a single account, use a cpmove-username.tar.gz file. Upload the backup to your server first, then launch the restore by logging into WHM or using the command line. Following these procedures ensures your files, databases, and settings are recovered safely and without errors.
How to Restore a cPanel Full Backup or cpmove File
To restore a cPanel account successfully, the backup file must follow the correct format. The most common is a .tar.gz archive for complete website backups. If you are restoring a single account, you will need the cpmove-username.tar.gz file.
After uploading the backup to the server through FTP or SFTP, log in to WHM and follow the steps below to complete the restore.
Backup File Formats You Can Use
- Full Website Backup
.tar.gz — stores all website files, databases, and account settings. - cPanel Account Backup
cpmove-username.tar.gz — used for restoring or moving individual accounts.
For better performance tips, check out our guide on WHM optimization for WordPress.
How to Restore a cpmove File
- Place the cpmove-username.tar.gz file in the server using FTP or SFTP.
- Log in to WebHost Manager (WHM) with root access.
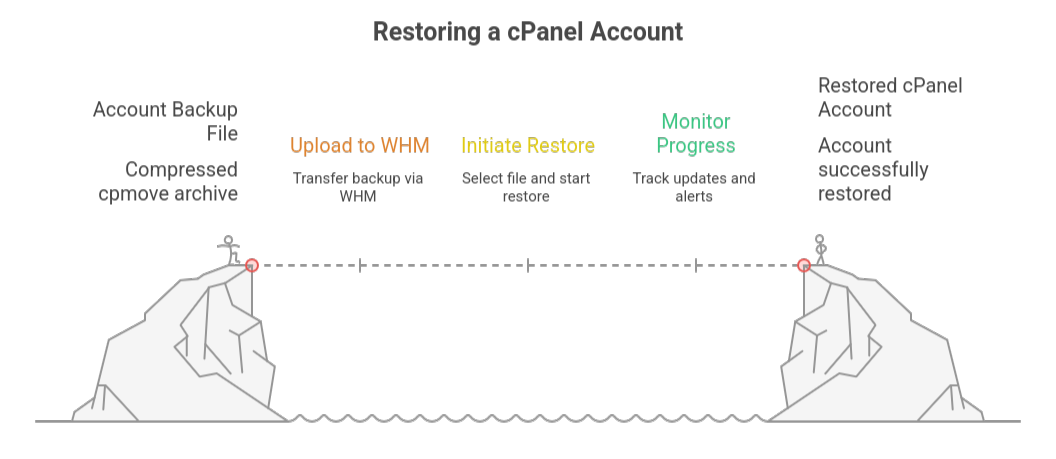
- Search for Restore inside WHM and click Restore a Full Backup/cpmove File (or Transfer or Restore a cPanel Account).
- Restore a cPanel account by uploading the backup to WHM and starting the restore.
- Select the file and click Restore to begin the process.
- WHM will show updates and alerts while restoring the account.
How to Restore a Full cPanel Backup or cpmove File in WHM
Restoring a full cPanel backup or cpmove file in WHM is straightforward. Follow these steps to complete the process quickly and safely.
- Access your Web Host Manager (WHM) using your root credentials.
- In the WHM search bar, type Restore and select Restore a Full Backup/cpmove File.
- Restore a cPanel account by either selecting the username from the dropdown list or choosing the cpmove or full backup file from your local storage.
- Restore a cPanel account by selecting the username from the dropdown or choosing the cpmove or full backup file from local storage.
- Click Restore to begin the process. WHM will start restoring the account immediately.
- You can track the restoration progress within the WHM interface. The process continues even if you close the window.
To check the transfer status from the command line, run:
/usr/local/cpanel/bin/view_transfer [domain or username]Replace [domain or username] with the account’s actual domain or username.
Restore a cPanel Backup Using restorepkg
1: Connect to your server via SSH with root access.
2: Navigate to Scripts Directory – Optionally go to /scripts where restorepkg is located:
cd /scripts3: Use the username if the backup is in a standard location:
./restorepkg usernameOr use the full path if the backup is elsewhere:
./restorepkg /path/to/backupfile.tar.gz4: Watch the command line updates as the restoration runs.
5: Log in to cPanel to confirm all files, databases, and settings are restored.
See how to protect your WHM login with an SSL certificate.
[Need assistance with a different issue? Our team is available 24/7.]
Conclusion
In summary, restoring a full backup or cpmove file is essential to quickly recover your cPanel account, including all files, databases, and settings. By following the steps in WHM or using the command line, you can complete the restoration safely and efficiently, ensuring your website is up and running without issues.
In brief, our Support Experts demonstrated how to fix the “554 5.7.1 : Relay access denied” error.


0 Comments